Hanging Pictures: Easy Steps for a Great‑Looking Wall
Ever wonder why some pictures instantly draw the eye while others look stuck? The difference is usually not the art itself but how it’s hung. With a few basic tools and a bit of planning, you can turn any wall into a showcase that feels balanced and intentional.
Tools and Prep
First, gather a hammer, a few picture‑hanging hooks (plastic for light frames, metal for heavier pieces), a tape measure, a pencil, and a level. If you have drywall, a stud finder helps you locate the strongest spots, but you can also use wall anchors for extra grip. Don’t forget a small piece of painter’s tape – it’s perfect for marking measurements without leaving marks.
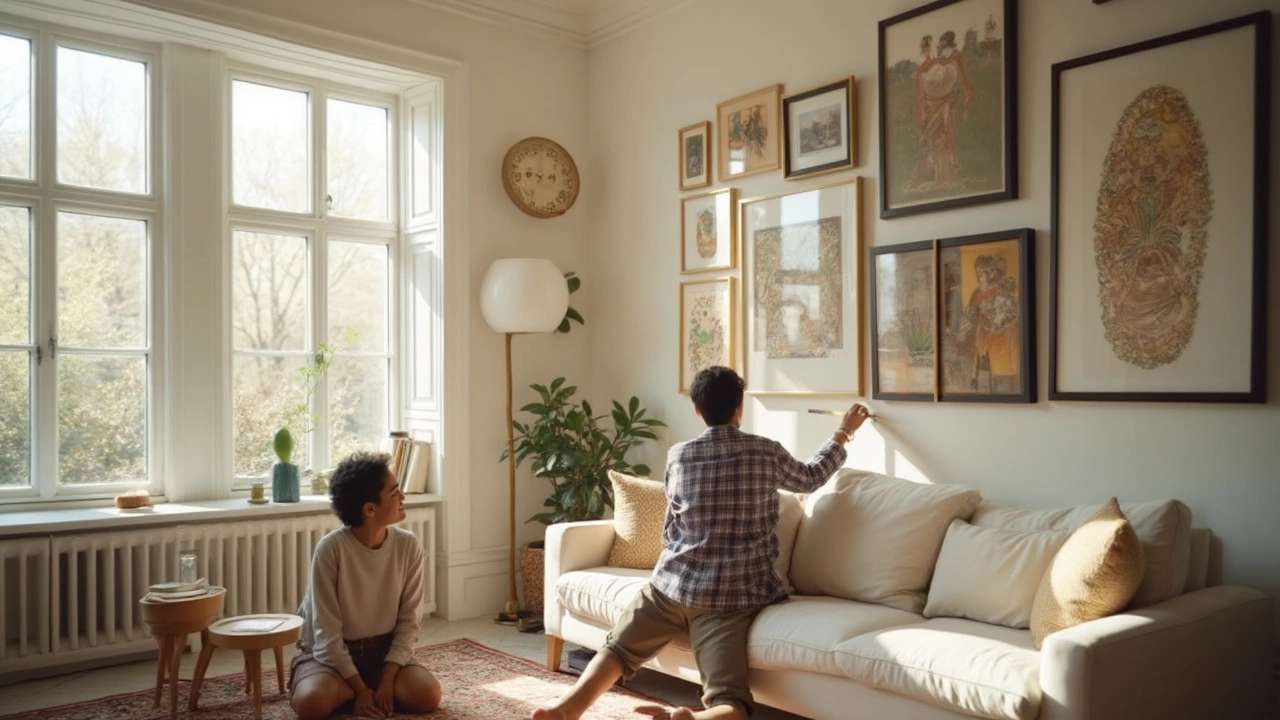
Measure the height of the picture frame, then add about 5‑7 inches from the floor to the center of the artwork. This “eye‑level” rule works for most rooms and keeps the piece at a comfortable viewing height. For a gallery wall, start by laying out all frames on the floor to decide the overall shape and spacing before you make any holes.
Layout Secrets
When arranging several pictures, treat the group as a single unit. Measure the total width, then mark the midpoint on the wall. From that center point, work outward, keeping equal gaps—typically 2‑3 inches—between frames. Use a level after each hook is installed to avoid a wonky look.
If you’re hanging a single statement piece, center it on the wall or above a piece of furniture. A common trick is to hang the picture so its top aligns with the top of the couch back or the mantle. This visual tie‑in creates a cohesive feel without extra décor.
For heavier art, always use two hooks placed a few inches apart. This distributes weight and reduces the risk of the frame pulling out of the wall. When dealing with brick or concrete, a masonry drill and appropriate anchors are essential – a cheap plastic plug won’t hold long.
After the hooks are in place, hang the picture, step back, and adjust as needed. Small tweaks with the level can save you from a crooked impression later. If you need to shift a frame a millimeter left or right, a single push on the frame can do the job without re‑drilling.
Finally, give the wall a quick once‑over. Look for any smudges from the pencil and erase gently. If you used painter’s tape for layout, peel it away slowly to keep the paint clean.
With these straightforward steps, hanging pictures becomes less of a chore and more of a quick DIY win. Your walls will look intentional, and you’ll feel confident the next time you want to refresh the space.
2/3 Rule for Hanging Pictures: The Simple Secret to Perfect Wall Art Placement
- Gavin Whitaker
- |
- |
- 0
The 2/3 rule for hanging pictures is a straightforward yet genius trick that takes the guesswork out of where your art should go. This article unpacks how it really works, why it's so effective, and how to use it for picture-perfect walls every time. Expect practical tips, easy-to-follow advice, and some clever fixes for tricky spots. You'll find answers to common wall art mistakes and learn how to create a balanced, stylish look. By the end, hanging art that looks professionally placed will feel easy.
View more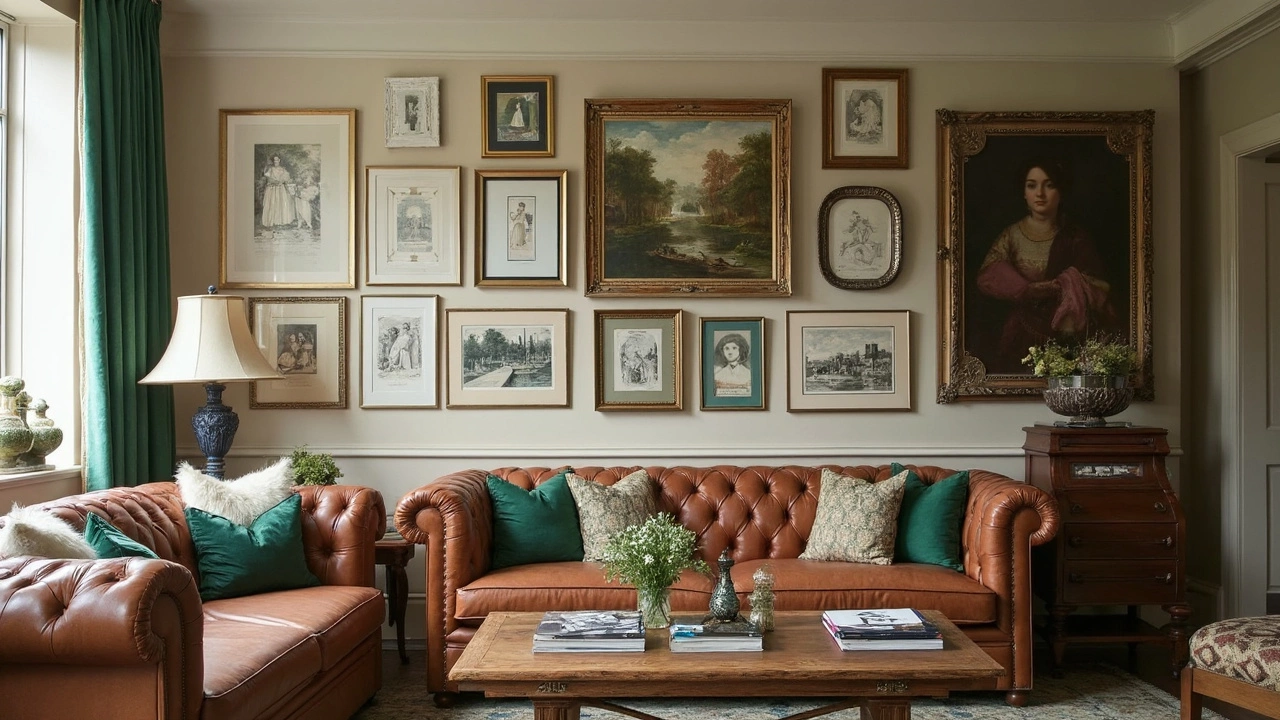
The Golden Rule for Hanging Pictures: Master the Art at Home
- Gavin Whitaker
- |
- |
- 0
Discover the ultimate guide to hanging pictures in your home with the golden rule. This article explores the optimal height for picture placement and common mistakes to avoid for perfect results. It also includes practical tips to make your wall art stand out. Transform your living space with well-placed art that complements your decor. Elevate your interior design game with these insightful guidelines.
View more