DIY Foundation Crack: How to Spot, Diagnose and Repair
Seeing a crack in your walls or floor can make anyone worry. The good news is many cracks are safe to fix yourself if you know what to look for. In this guide you’ll get clear steps to identify the type of crack, decide if it’s a DIY job, and apply a fix that will hold up for years.
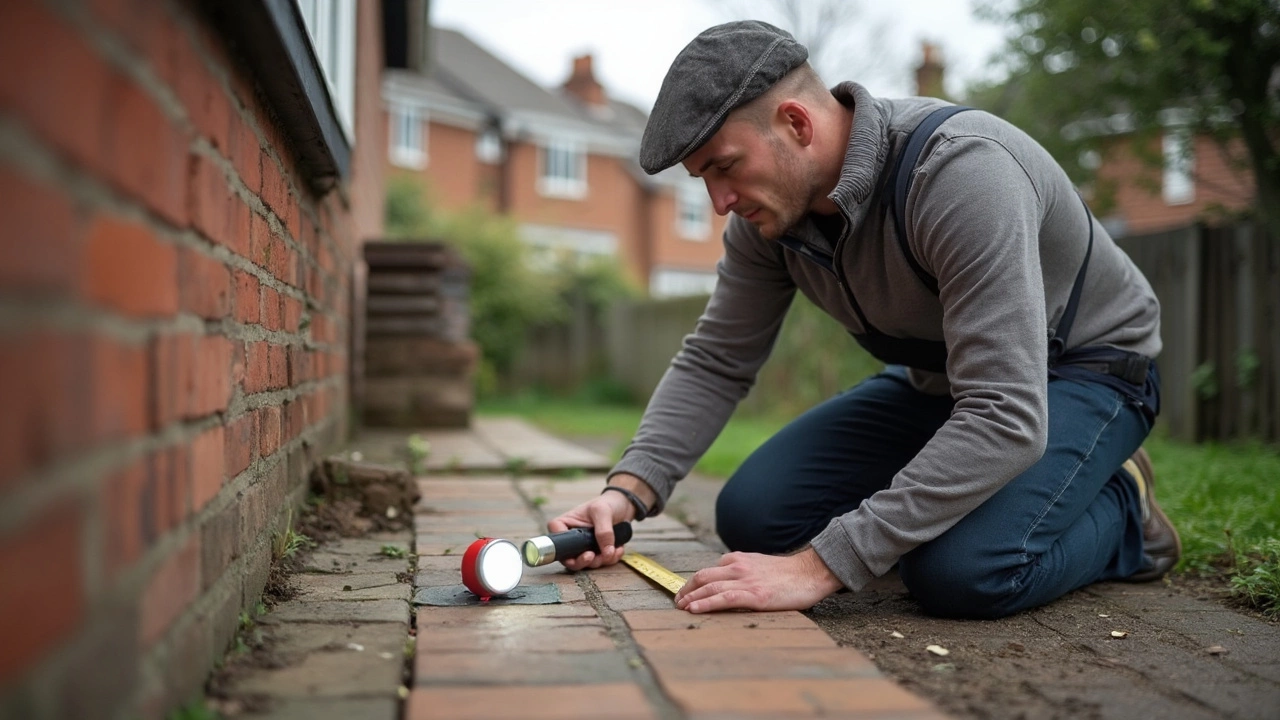
Identifying Common Foundation Cracks
First, check where the crack appears. Horizontal cracks that run along the foundation wall often signal pressure from soil and may need a professional. Vertical cracks that are thin (less than 1/4 inch) and run straight up and down are usually shrinkage cracks – easy DIY material.
Measure the width with a ruler or a crack gauge. If it’s widening over a few weeks, mark the ends with a pencil and re‑measure after a month. A growing crack points to movement, so call an expert. If the crack stays the same size, you can move on to the repair steps.
Also note the location. Cracks near doors or windows that cause doors to stick are often caused by settling and can be sealed with simple fillers. Cracks at the corners of a basement wall may need deeper attention because water can seep in.
DIY Repair Methods That Actually Work
Gather these basics before you start: a sturdy ladder, a clean brush, a vacuum, waterproof epoxy or hydraulic cement, a putty knife, and a concrete patching mix. Safety first – wear gloves, goggles and a dust mask.
1. Clean the crack. Use a brush to remove loose material, then vacuum out dust. A clean surface lets the filler stick properly.
2. Apply a liquid epoxy primer if you’re using epoxy. This helps the filler bond to the old concrete. Follow the product label – most primers need only a few minutes to set.
3. Mix the repair material. For small vertical cracks, a two‑part epoxy works well. For larger gaps, hydraulic cement expands as it sets and seals water.
4. Fill the crack. Use a caulking gun for epoxy or a trowel for cement. Push the material deep into the crack, then over‑fill slightly. Smooth the surface with a putty knife, feathering the edges into the surrounding floor.
5. Let it cure. Epoxy usually hardens in 30‑60 minutes, while cement may need 24 hours. Keep the area dry during curing – a damp environment can weaken the bond.
6. Finish with a sealant if the repaired area is in a wet zone. A clear masonry sealant adds extra protection against moisture.
After the repair, keep an eye on the spot for a few weeks. If you notice new movement, it’s time to get a structural engineer involved. DIY fixes are great for minor shrinkage cracks, but larger structural problems need professional input.
By following these steps you can stop small foundation cracks from getting worse, save money, and keep your home safe. Remember, a solid foundation starts with early detection, so make checking for cracks part of your regular home maintenance routine.
Can I Fix a Foundation Crack Myself? DIY Basics & Reality Check
- Gavin Whitaker
- |
- |
- 0
Wondering if you can tackle a foundation crack on your own? This article breaks down when DIY repair is safe, how to do it, and when to call in the pros. You'll learn what tools and materials you actually need, what really causes those cracks, and how to spot the telltale signs that signal a bigger issue. Get straight-up advice and tips drawn from real home repair experience. By the end, you'll know when to roll up your sleeves—and when to grab the phone.
View more