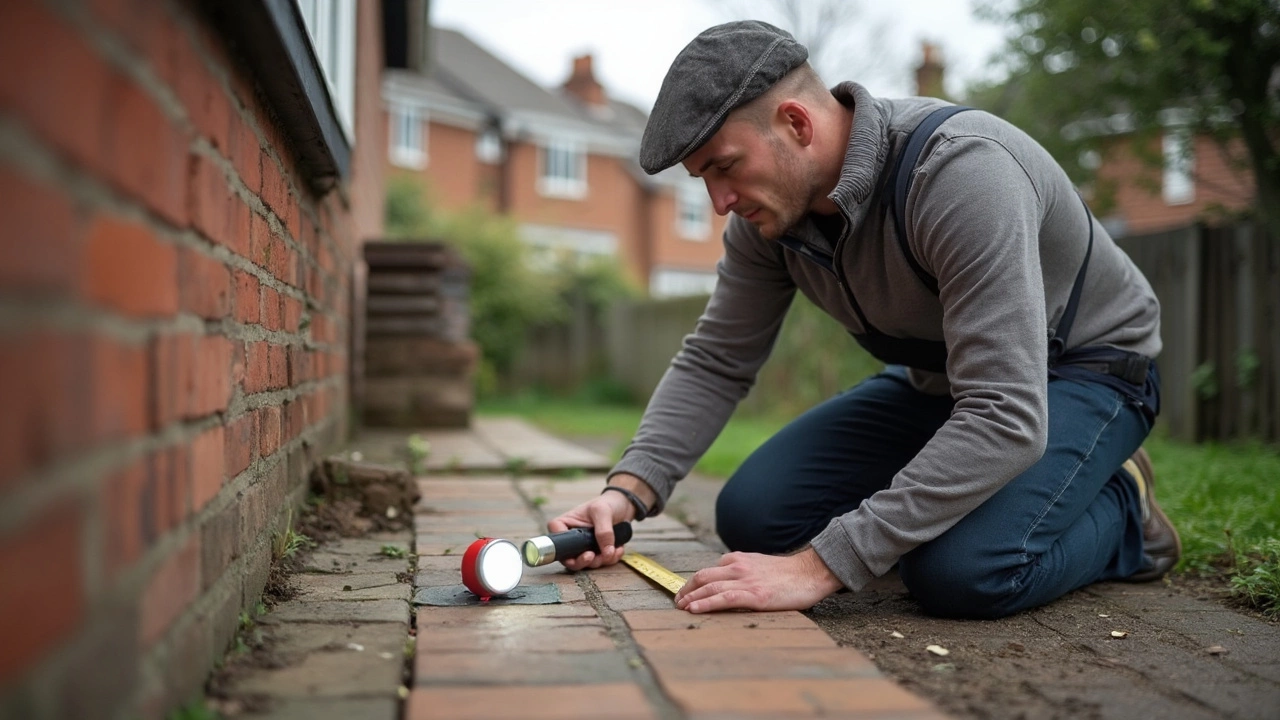
Notice a crack running along your basement wall or creeping across the garage floor? It’s the kind of thing that makes any homeowner’s stomach drop. Before you panic (or ignore it), let’s figure out what that crack is telling you and if you can really patch it up without calling a pro.
Not every foundation crack is a bad sign, but ignoring them can lead to bigger headaches—like mold, water leaks, or even structural trouble. The size, shape, and direction of the crack matter a lot. Small, hairline cracks in concrete are pretty common, especially in houses that are a few years old. Most of the time, these are harmless and can be tackled with a little “do it yourself” attitude.
But here’s something most folks don’t know: vertical or diagonal cracks less than a quarter-inch wide often come from normal settling or shrinkage, not from the house falling apart. Horizontal cracks, on the other hand, are a red flag. If you see one of those, or if the crack is wider than a pencil, it’s not the time to test out your handyman skills—you’ll want a professional to check it out.
Cracking isn’t just about looks. It’s about keeping water out and your home safe. A good rule of thumb? If you see water seeping through, if the crack changes size over a few weeks, or if doors and windows nearby start sticking, a simple patch job probably won’t cut it. But if it’s just a thin, old crack that hasn’t changed in a while, you might be able to fix it up yourself.
- Cracks: When You Should Worry
- DIY Fixes That Actually Work
- When to Call an Expert
- Tips for Preventing New Cracks
Cracks: When You Should Worry
Not every crack means disaster, but some do spell trouble for your home. The first step is to figure out what you’re dealing with. Foundation cracks come in all sorts of shapes and sizes, and each kind tells you something different about what’s going on under your house.
Here’s a quick way to judge which cracks need your attention right away:
- Horizontal cracks in a foundation wall: These are usually the most serious. They can mean soil pressure is pushing in, which could eventually bow or even collapse the wall.
- Cracks wider than 1/4 inch: If you can easily slide a coin or pencil tip into a crack, don’t ignore it. These are a sign the movement is ongoing, not just part of the house settling naturally.
- Cracks that grow or change quickly: Mark the ends of the crack with a pencil and check back in a month. If it gets longer, that’s a warning sign.
- Cracks with water leaking in: Even small leaks can start big headaches like mold or eroded concrete.
- Stair-step cracks in brick or block: Watch out for these, especially if they go all the way through a wall. They can mean the soil has shifted or dropped.
To help make sense of what you see, here’s a quick reference table that lays out what different kinds of foundation crack repair situations can mean:
| Type of Crack | What It Might Mean | Action Needed |
|---|---|---|
| Vertical (less than 1/4 inch) | Normal shrinkage or settling | Monitor, fill if dry |
| Vertical (more than 1/4 inch) | Possible ongoing settlement | Get a pro evaluation |
| Horizontal | Pressure from soil, serious structural risk | Immediate professional help |
| Stair-step in block/brick | Soil movement or sinking | Professional inspection needed |
| Crack with water seepage | Poor drainage or waterproofing | Seal crack, consider drainage fixes |
If you find your crack fits any of the “worry” categories, don’t try DIY before getting a pro’s opinion. Acting early can save thousands and a lot of sleepless nights.
DIY Fixes That Actually Work
So, you’re staring at a skinny crack in your basement wall, thinking, “Can I really fix this myself?” The good news: for small, non-structural cracks—especially those under a quarter-inch wide—the answer’s usually yes. But you have to do it right, or that fix won’t last long.
First off, skip the old-school caulk from the hardware store. For most concrete cracks, you’ll want either an epoxy injection kit (for dry cracks) or a polyurethane kit (for active leaks). Both seal up tight and block moisture, but polyurethane is flexible, so it works better if your foundation shifts with the seasons. These kits usually run $30–$60 at major stores and come with everything you need: the sealant, applicator, and ports.
Here’s a quick rundown of the process:
- Clean out the crack. Use a wire brush, vacuum, or compressed air to get rid of loose concrete and dust.
- If it’s wet, let it dry out as much as possible, unless the kit is made for wet applications.
- Seal the surface. Most kits want you to apply surface paste along the crack and attach injection ports every 6–10 inches.
- Inject the epoxy or polyurethane from the bottom up. Go slow and watch for leakage at the top ports to make sure the crack’s totally filled.
- After the sealant cures, scrape off the ports and surface paste with a putty knife.
How long does all this take? Plan for about 2–3 hours, including cleanup. Check out this quick comparison:
| Repair Method | Best For | Approx. Cost | DIY Difficulty |
|---|---|---|---|
| Epoxy Injection | Dry, hairline cracks (non-leaking) | $35–$50 | Easy |
| Polyurethane Foam | Leaking, active cracks | $40–$60 | Easy |
| Hydraulic Cement | Wider, stable cracks, quick patch | $10–$20 | Very Easy |
If the crack is wide or the concrete around it seems crumbling, don’t bother with DIY. Same thing if the crack keeps growing even after you try sealing it. For anything more stubborn, grab your phone instead of your trowel. But for a small foundation crack repair, a good epoxy or polyurethane kit gets the job done—and keeps your basement dry.
When to Call an Expert
Tackling your own foundation crack repair can save money, but there are clear signs when you need backup from a pro. Ignoring the bigger warning signs can risk both your home’s safety and your wallet down the line.
Here’s when you should put down the caulk and get expert help:
- Horizontal cracks: Cracks running sideways along basement walls often point to serious soil pressure or water issues pressing in from the outside. This isn’t a surface problem; it could mean your foundation wall is bowing or shifting, which is a job for structural repair specialists.
- Cracks wider than a quarter-inch: If you can fit a coin or even your pinky nail in a crack, it's time for a pro. Wide and growing cracks are red flags that something is moving or settling more than it should.
- Cracks that change over time: Mark the ends of a crack with a pencil and check back every couple of weeks. If it gets longer or wider, your house is still shifting. This kind of movement means you’ll need more than just a patch.
- Repeated water leaks or dampness: Smelling damp air, seeing water stains, or mopping up water near cracks? Water is a foundation’s worst enemy, and leaks can lead to bigger damage (like mold and mildew) if left unchecked.
- Doors and windows out of alignment: If your doors and windows near the crack start sticking, jamming, or won’t lock, your foundation is shifting enough to affect the structure above. That’s not something a home DIY kit can solve.
- Multiple cracks appearing suddenly: A bunch of new cracks popping up at once—especially after a heavy rain or long drought—could mean rapid soil changes or settlement that needs expert evaluation.
Don’t gamble if you’re unsure. Most foundation repair contractors offer an inspection for free or for a small fee. Getting a pro to look things over could save you massive repair bills—and headaches—later. Better safe than sorry, right?
Tips for Preventing New Cracks
So, you’ve handled one crack—or maybe just want to avoid more. Here’s what really makes a difference when you want to keep your foundation in one piece.
- Keep water away from your foundation. The number one enemy is water pooling near your home. Make sure your downspouts are kicking water at least five feet away. If your yard slopes toward your house, it’s time for some quick landscaping.
- Mind your gutters. Clean them out at least twice a year so water doesn’t spill over and soak the soil right next to the concrete. Clogged gutters are a sneaky cause for several cracks.
- Try not to let the soil dry out too much. Wild, dry conditions make the ground shrink and your foundation can settle unevenly. If you’ve got dry spells, spray some water around the foundation every now and then (but don’t flood it, obviously).
- Plant trees and bushes away from your house. Large roots can put extra pressure on your foundation and suck up tons of water, making the soil shift.
- Check for leaks in plumbing. A dripping outdoor faucet, busted sprinkler, or a hidden leak can slowly weaken the soil without you ever noticing.
Here’s something you might not realize: Extreme weather swings can also speed up cracking. Foundations hate surprise changes in temperature and moisture.
| Cause | Prevention Tip |
|---|---|
| Poor Drainage | Extend downspouts, fix grading, and clean gutters |
| Tree Roots | Plant large trees at least 15-20 feet from foundation |
| Soil Shrinkage/Expansion | Maintain steady moisture, mulch garden beds near home |
| Plumbing Leaks | Inspect pipes annually and fix leaks fast |
| Frost Heave | Insulate soil or foundation, avoid water pooling before freeze |
If you remember nothing else, remember this: keeping water under control is your secret weapon for preventing those annoying foundation cracks. Stay ahead of drainage and you’ll have way fewer headaches down the line.