Foundation Repair Time Estimator
Select your situation to see estimated timelines for physical work and total project completion.
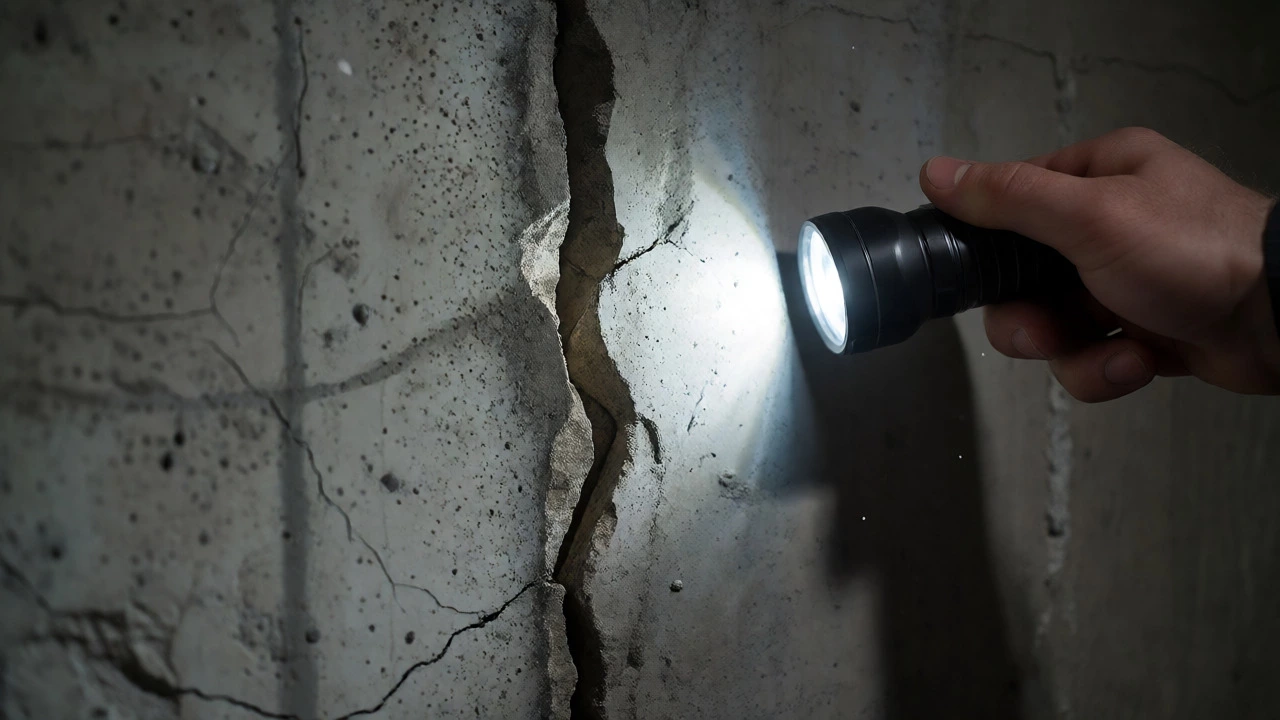
You spot a jagged line running down your basement wall. Your stomach drops. You start imagining weeks of jackhammers, dust clouds, and contractors camping out in your driveway. But here is the good news: for most standard foundation cracks, the actual repair work takes less time than you think. We are talking hours, not months.
The confusion usually comes from mixing up the repair process with the project timeline. Yes, getting quotes, scheduling crews, and waiting for materials adds days or weeks. But once the truck pulls up, the fix itself is often done before dinner. The real question isn't just "how long does it take to fix a crack in the foundation of a house?" but rather "what factors decide if this is a two-hour job or a two-week ordeal?"
The Short Answer: Typical Timeframes
Let's cut through the noise. For a single, non-structural hairline crack in a concrete block or poured concrete foundation, the physical repair typically takes 2 to 4 hours. This includes cleaning the crack, injecting epoxy or polyurethane, and sealing the surface.
If you have multiple cracks or need waterproofing membranes installed alongside the repair, expect 1 to 3 days. If the crack indicates active settling that requires underpinning (installing new supports), we are looking at 1 to 2 weeks for the installation phase alone.
| Repair Type | Physical Work Time | Total Project Timeline | Best For |
|---|---|---|---|
| Epoxy Injection | 2-4 hours | 3-7 days (incl. scheduling) | Non-moving structural cracks |
| Polyurethane Foam | 1-3 hours | 3-7 days (incl. scheduling) | Water-leaking hairline cracks |
| Carbon Fiber Straps | 4-6 hours | 5-10 days | Minor bowing walls |
| Steel I-Beams | 1-2 days | 2-3 weeks | Significant bowing/leaning |
| Helical Piers | 2-4 days per pier set | 3-6 weeks | Active sinking/settling |
Why Epoxy and Polyurethane Are So Fast
Most homeowners dealing with a simple crack don't need heavy machinery. They need Epoxy Injection, which is a method of filling foundation cracks with high-strength resin to bond the concrete back together. Think of it like superglue for concrete, but industrial-grade.
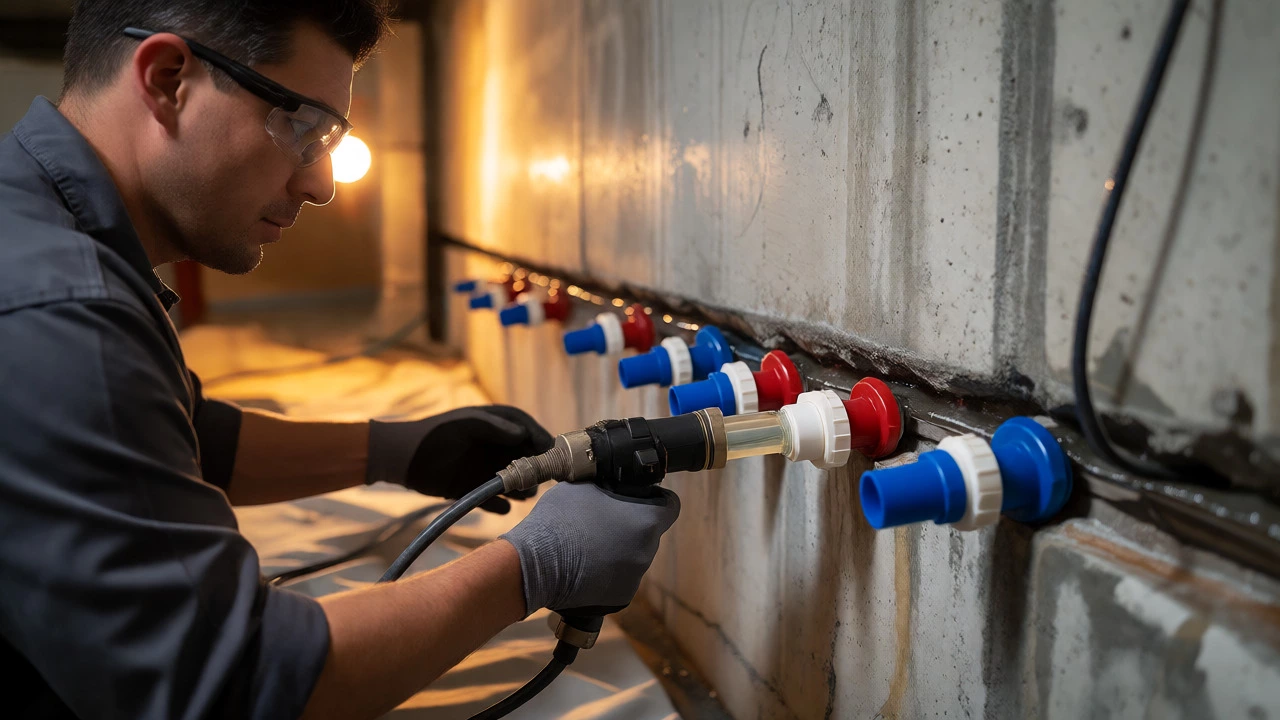
The crew drills small holes along the crack path. They insert plastic ports into these holes. Then, they use a low-pressure pump to push liquid epoxy into the void. The material flows into every tiny fissure. Once injected, the epoxy cures hard-often reaching full strength within 24 hours. Because there is no digging involved, the mess is minimal. You might see some drill dust and a few drips on the floor, but your lawn stays intact.
Polyurethane Foam is an expanding sealant used primarily to stop water infiltration through foundation cracks. It works similarly to epoxy but expands significantly upon contact with moisture. This makes it ideal for cracks that leak during rain. The application is even faster because the foam seals as it hits the damp concrete. Crews can finish a polyurethane job in under two hours for a typical basement wall section.
These methods are popular in London and across the UK because they are non-invasive. You do not need to excavate the exterior soil around your home. That saves massive amounts of time compared to traditional patch-and-dam methods that require digging trenches around the perimeter.
When Repairs Take Longer: Structural Issues
A crack is rarely just a crack. Sometimes it is a symptom of a bigger problem. If your foundation is moving, injecting glue won't help. The movement will simply reopen the seam. This is where timelines stretch.
Consider Carbon Fiber Reinforcement, which uses high-tensile strength strips bonded to interior walls to prevent further bowing. Installing these straps requires precise preparation. The wall must be cleaned, leveled, and primed. Each strap is cured with an epoxy adhesive. While the installation of one wall might take half a day, drying times between coats and curing periods add up. A full basement treatment could take three to five days.
For more severe cases, such as a wall leaning inward due to soil pressure, you might need Steel I-Beams, which are vertical steel supports anchored to the floor joists and footing to brace a bowing wall. This involves drilling through the slab, anchoring the beam to the footing below, and bolting it to the ceiling joists above. It is labor-intensive. One wall might take two days. Multiple walls? Plan for a week.
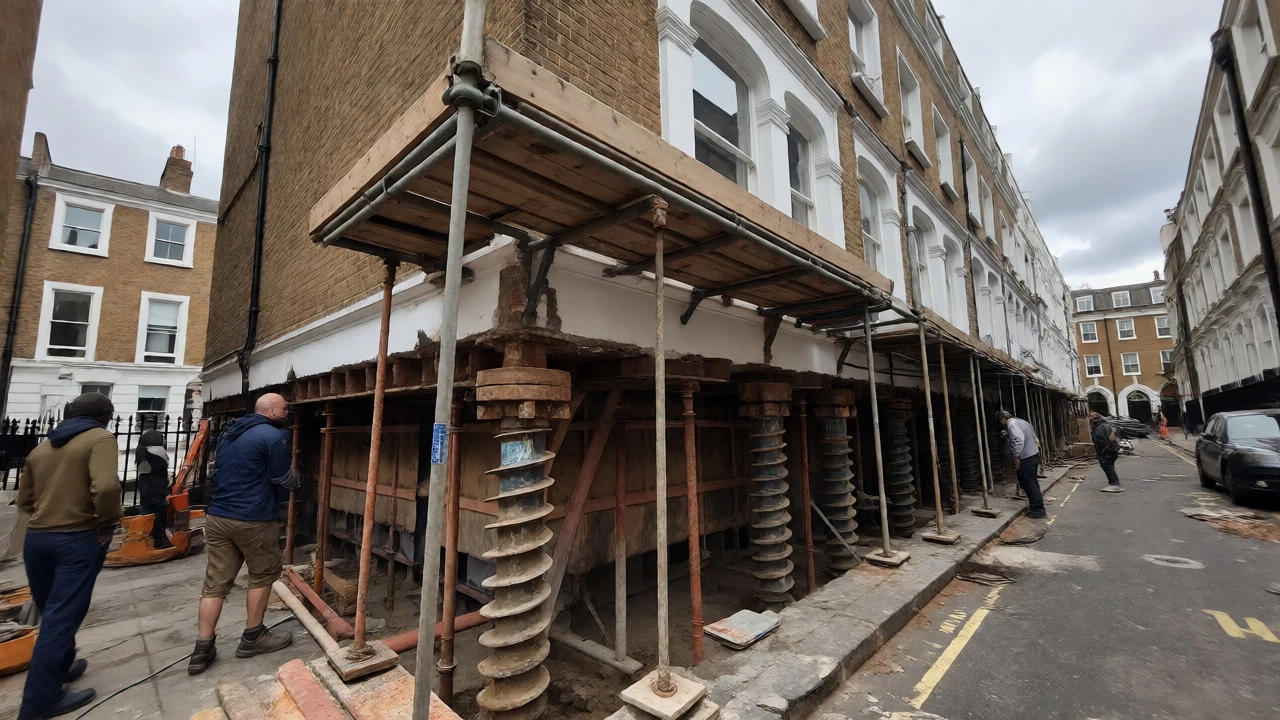
The longest jobs involve Underpinning, specifically the process of strengthening existing foundations by extending them deeper into stable soil. Methods like helical piers or concrete piles require excavation outside the house. In London, where space is tight and utilities are dense, this is tricky. Crews must navigate gas lines, water mains, and fiber optics. Excavating for each pier takes time. Then, the piers are driven deep until they hit bedrock or load-bearing strata. Finally, the house is lifted onto them. This entire sequence for a corner of a house can easily span two to four weeks.
The Hidden Time Wasters: Scheduling and Logistics
Here is the part nobody tells you upfront: the calendar is often slower than the hammer. Finding a reputable foundation specialist in your area can take time. Reputable firms in the UK often have waitlists of two to four weeks. Why? Good crews are busy. If you try to book a last-minute emergency repair, you might get someone available, but quality varies.
Once booked, weather plays a role. While epoxy injection happens indoors, exterior underpinning stops for heavy rain. Mud makes excavation dangerous and inefficient. If you live in an older Victorian terrace, access might be another hurdle. Narrow alleys mean smaller equipment or manual labor, slowing things down. Large trucks cannot always park close to the site, requiring longer setup times.
Permits are another factor. In some councils, significant structural changes require building control approval. Submitting plans and waiting for inspection sign-off can add days or weeks to the project. Always ask your contractor if permits are needed for your specific scope of work. Do not assume minor cracks escape regulation; check local rules.
Factors That Speed Up or Slow Down Your Job
Not all houses are created equal. Several variables dictate how fast your repair happens.
- Accessibility: Can the crew park right next to the crack? If they need to carry equipment through the front door and down narrow stairs, add 20% to the labor time. External access via scaffolding speeds up exterior work but requires assembly time.
- Crack Complexity: A straight vertical crack is easy. A spiderweb pattern with branching fissures takes longer to clean and inject properly. Hairline cracks absorb less material but require more precision to ensure no air pockets remain.
- Material Availability: Standard epoxy kits are usually on hand. Custom carbon fiber lengths or specific pier sizes might need ordering. Ask about stock levels during the quote stage.
- Interior Finishes: If your basement has finished drywall or flooring over the crack, the crew must cut and remove it first. Patching and repainting later adds to the overall restoration timeline, even if the structural fix is quick.
What Happens During the Actual Repair Day?
Knowing what to expect reduces anxiety. Here is a typical schedule for a same-day epoxy repair:
- Arrival and Setup (30 mins): The team parks, lays down drop cloths, and sets up lighting. They confirm the location of utilities behind the wall using scanners.
- Surface Prep (30-60 mins): They grind away loose paint, dirt, or old mortar around the crack. This ensures the epoxy bonds directly to clean concrete.
- Drilling Ports (30-45 mins): Small holes are drilled at intervals along the crack. Plastic ports are inserted and sealed with a quick-set paste.
- Injection (1-2 hours): Epoxy is pumped in. The technician watches for overflow at adjacent ports, indicating the void is filled. This step is critical for structural integrity.
- Finishing (30 mins): Ports are removed, excess epoxy is scraped off, and the surface is smoothed. Some contractors apply a cosmetic filler to match the wall color.
- Cleanup (15 mins): Debris is vacuumed. The site is left cleaner than found.
You can often stay in the house during this process. Noise is limited to drilling. Odor is minimal with modern low-VOC epoxies. Just keep pets and children away from the immediate work zone.
Is It Worth Waiting for a Better Quote?
Homeowners often delay repairs hoping for a cheaper deal. Be careful. Foundation issues rarely fix themselves. A hairline crack today can become a widening gap in six months. Water intrusion leads to mold, rot, and pest infestations. These secondary damages cost far more than the initial repair.
Furthermore, seasonal demand affects pricing and speed. Spring and summer are peak seasons for foundation work in the UK. Contractors are swamped. Prices may be higher, and availability lower. Autumn and winter often offer better scheduling windows. Since most internal repairs are unaffected by cold weather, tackling the job in November or January can save money and time.
DIY vs. Professional: The Time Trade-Off
Can you do it yourself? For a non-structural hairline crack, yes. Kits from hardware stores cost £20-£50. The process takes a weekend afternoon if you know what you are doing. However, mistakes happen. Poor surface prep leads to failed bonds. Incorrect mixing ratios cause weak repairs. If the crack reopens, you pay twice.
Professionals bring experience. They identify hidden voids. They guarantee their work, often for life or transferable warranties. This peace of mind is worth the extra cost and scheduling lead time. If you sell your house, a documented professional repair adds value. DIY patches raise red flags for surveyors.
Next Steps After the Repair
Once the crack is fixed, monitor it. Mark the ends with tape and note the date. Check monthly for any new spreading. Keep gutters clean to direct water away from the foundation. Ensure downspouts extend at least two meters from the house. Proper drainage prevents future stress on the repaired area.
If you notice doors sticking or floors sloping after the repair, call your contractor immediately. It might indicate ongoing settlement that requires further assessment. Most reputable firms include a follow-up inspection in their service package.
How long does epoxy foundation repair take to cure?
Most structural epoxies reach handling strength within 24 hours and full chemical cure within 7 days. However, the area is watertight and structurally sound much sooner, often within a few hours. You can typically resume normal basement activities the next day.
Can I live in my house during foundation crack repair?
Yes, for internal injections like epoxy or polyurethane, you can live normally. There is minimal noise and dust. For exterior underpinning involving excavation, you might experience some disruption near entry points, but living in the house is generally safe and feasible unless major structural lifting is required.
Does weather affect foundation repair timing?
Internal repairs are largely weather-independent. Exterior work, such as installing piers or waterproofing membranes, can be delayed by heavy rain or freezing temperatures. Mud slows down excavation, and extreme cold can affect certain material curing rates, though specialists use additives to compensate.
How quickly should I fix a foundation crack?
Address active leaks immediately to prevent mold and erosion. Non-leaking hairline cracks can be monitored for a few months to see if they widen. However, delaying structural repairs often increases costs, as small cracks can expand into larger failures requiring more expensive interventions like underpinning.
Do I need planning permission for foundation repairs?
In the UK, minor repairs like injecting cracks usually fall under permitted development and do not need planning permission. However, significant alterations like underpinning or changing the external appearance of a listed building may require Building Regulations approval or Listed Building Consent. Always consult your local council.