Foundation Crack Diagnosis Tool
Use this tool to analyze the characteristics of your concrete crack. Answer the questions below to receive a preliminary assessment and material recommendation.
Complete the form to see the diagnosis
Can You Actually Fix Your Foundation Yourself?
Seeing a crack in your basement wall or noticing that your front door suddenly sticks isn't the kind of surprise anyone wants. Most people panic and immediately think they need to spend $20,000 on industrial piers. But here is the reality: not every crack is a catastrophe. While you can't DIY a massive structural failure, you can absolutely handle surface cracks, minor settling, and waterproofing issues. The trick is knowing exactly when to pick up a trowel and when to put down the phone and call a structural engineer.
Before we get into the how-to, let's be clear about the stakes. If your house is leaning like a sailboat or you see horizontal cracks running across your basement walls, stop reading and call a pro. But if you're dealing with hairline fractures or small gaps where water seeps in during a storm, you're in the right place. We are talking about foundation repair that focuses on stabilization and sealing, not rearranging the geography of your lot.
Quick Summary: What You Need to Know
- Vertical cracks are usually shrinkage and are often DIY-fixable.
- Horizontal cracks usually indicate hydrostatic pressure and require professional help.
- Epoxy is for structural strength; polyurethane is for stopping water.
- Always fix the drainage (gutters and grading) before fixing the concrete.
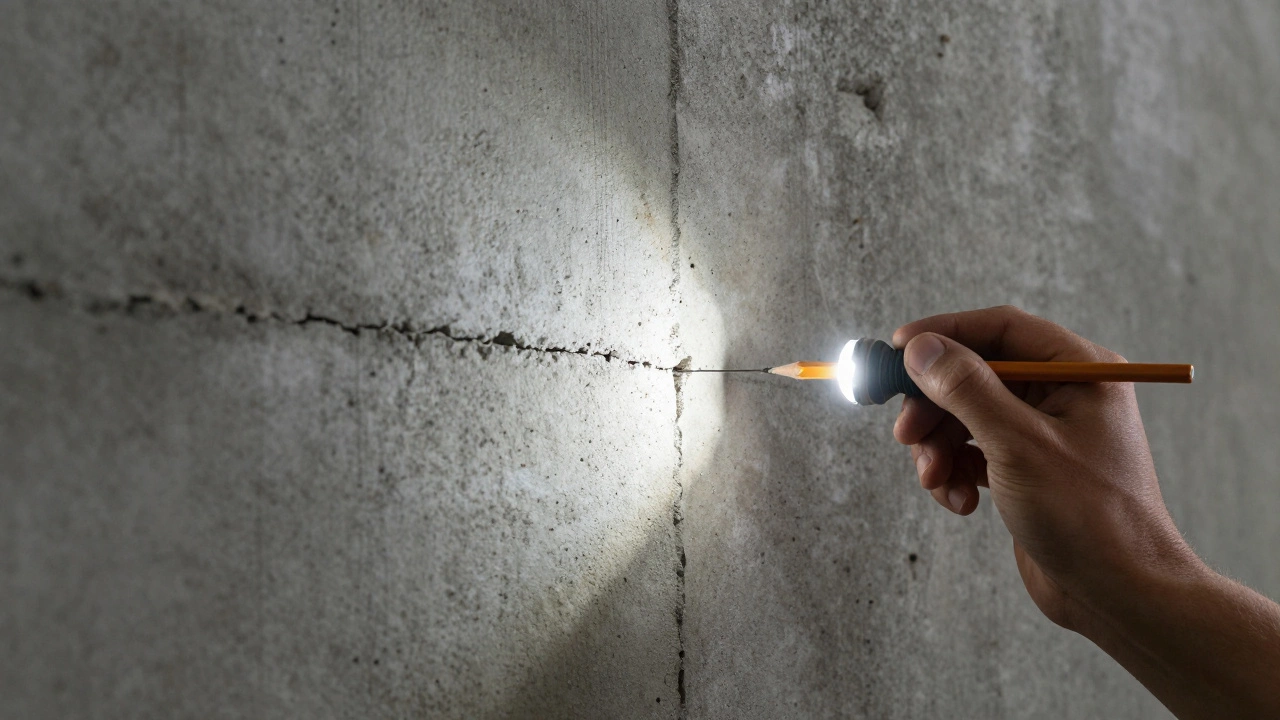
Step 1: Diagnosing the Damage
You can't fix what you don't understand. Most foundation issues stem from Soil Expansion is the process where clay-rich soils swell when wet and shrink when dry, causing the concrete to move. This cycle creates stress points in your concrete.
Take a flashlight and a pencil. Mark the ends of every crack you see. If a crack is vertical (up and down), it's often just a "shrinkage crack" from when the concrete first dried. These are generally cosmetic. However, if you see a "stair-step" crack in brickwork or concrete blocks, that's a sign of settling. If the crack is wider than 1/4 inch, you're moving out of DIY territory and into structural territory.
Ask yourself: Is the floor sloping? Are the windows sticking? If the answer is yes, your foundation is shifting. If the only problem is a thin line of leaking water, you're looking at a sealing job, not a structural overhaul.
Step 2: Fixing the Root Cause (The "Water Problem")
If you patch a crack but keep dumping water against your house, the crack will come back. Every single time. The foundation doesn't just "break"; it is pushed by Hydrostatic Pressure is the force exerted by standing water against the exterior walls of a foundation. To fix this, you have to move the water away from the house.
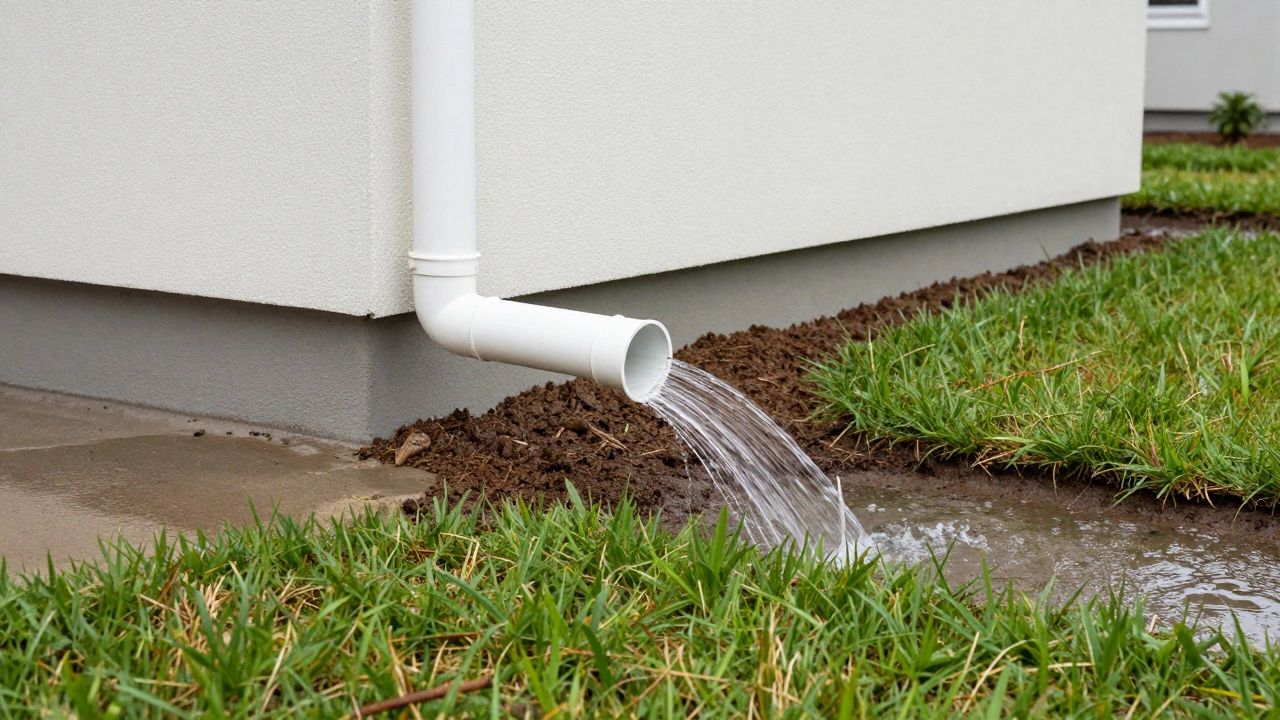
Start with your Gutters is channels installed along the eaves of a roof to carry rainwater away from the building. Make sure they aren't overflowing. If they are, clean them or install larger ones. Then, look at your downspouts. If they dump water right at the base of your wall, you're basically watering a garden of cracks. Extend those pipes at least 5 to 10 feet away from the foundation.
Next, check your grading. The ground should slope away from your house-about 6 inches of drop over the first 10 feet. If you have a "bowl" effect where water pools against the concrete, add clean fill dirt and slope it away. This simple step prevents 80% of future foundation leaks.
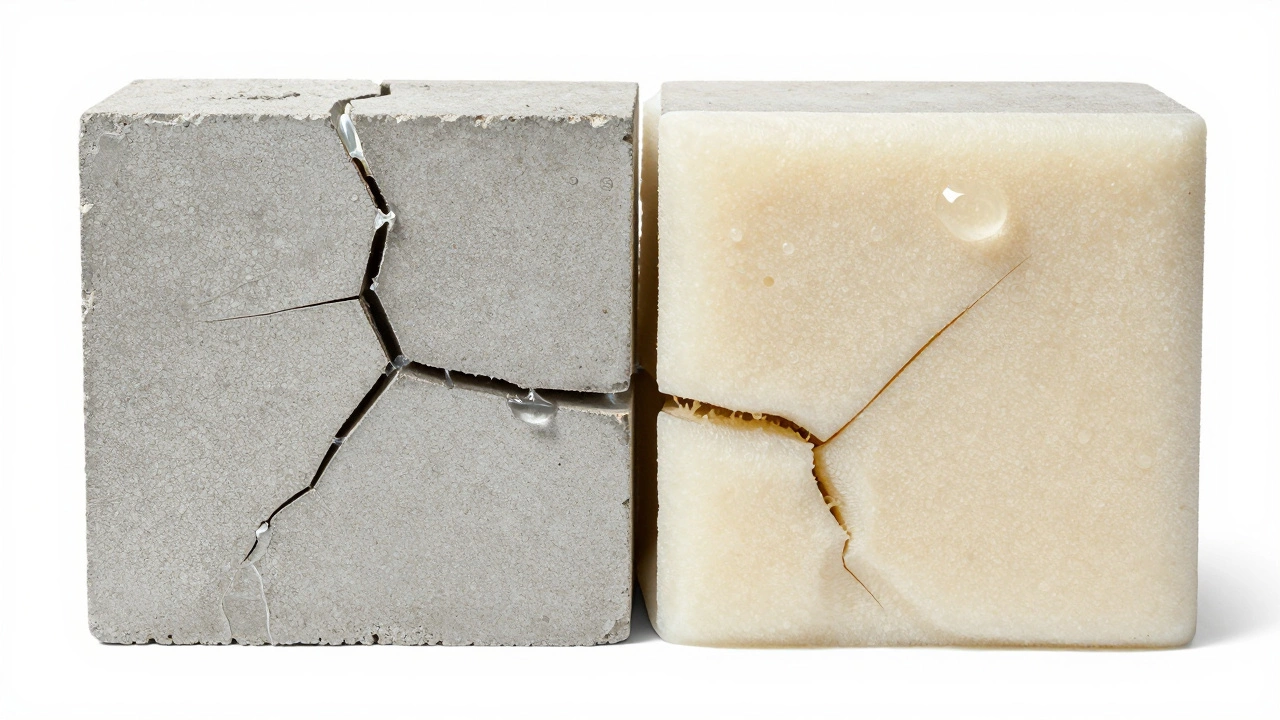
Step 3: Choosing the Right Filler
Not all sealants are created equal. Using the wrong one is like using glue to fix a broken window-it might look okay for a day, but it won't work. You have two main choices for DIY repairs: Epoxy Resin is a high-strength adhesive used to bond concrete together and restore structural integrity and Polyurethane Foam.
| Feature | Epoxy Resin | Polyurethane Foam |
|---|---|---|
| Primary Purpose | Structural bonding/strength | Waterproofing/Sealing |
| Flexibility | Rigid (can crack if house moves) | Flexible (expands and contracts) |
| Strength | Stronger than the concrete itself | Moderate |
| Best For | Dry, non-leaking structural cracks | Active leaks and damp basements |
Step 4: The Epoxy Injection Process
If you have a dry crack that you want to "weld" back together, epoxy injection is the way to go. This isn't just slapping some goop on top; you're filling the crack from the bottom up.
- Clean the Crack: Use a wire brush to scrub out any loose concrete, dust, or old paint. If the crack is dirty, the epoxy won't bond.
- Install Injection Ports: These are small plastic nozzles. Use the provided adhesive to stick them along the crack every 6 to 12 inches.
- Seal the Surface: Apply a surface sealer (usually a thick epoxy paste) over the crack between the ports. This creates a temporary "cap" so the filler doesn't leak out the front. Let this dry for 24 hours.
- Inject the Epoxy: Start at the lowest port. Inject the resin until it starts leaking out of the port above it. Cap the first port, move to the next, and repeat until you reach the top.
- Finish: Once the epoxy cures, snap off the plastic ports and grind the excess surface sealer flush with the wall using a masonry grinding wheel.
Step 5: Handling Wet Basements with Polyurethane
If your basement smells like a damp cave, epoxy is a bad choice because it doesn't handle water well and is too rigid. Instead, use a polyurethane injection kit. Polyurethane is Hydrophobic is a property that repels water, allowing a sealant to push water out of a crack as it expands. When it hits water, it reacts and expands into a tight, flexible foam that plugs the leak entirely.
The process is similar to epoxy: clean, port, and inject. However, you don't always need to seal the surface first. The foam expands rapidly, filling every nook and cranny of the fissure. It's the gold standard for stopping seepage in a Slab-on-Grade is a type of foundation consisting of a thick concrete slab poured directly onto the ground or basement wall.
When to Stop and Call a Professional
I want you to save money, but I don't want your ceiling to cave in. There are some "red flags" that mean you are beyond DIY limits. First, if you see horizontal cracks. These are caused by soil pushing against the wall, and the wall is literally bowing inward. No amount of epoxy will stop a wall from collapsing.
Second, if you notice "differential settlement." This is when one corner of the house sinks while the rest stays put. You'll see this in sloping floors or doors that won't close. This requires Underpinning is the process of strengthening the foundation of a building by extending it deeper into the ground, usually involving steel piers pushed deep into the earth. That requires heavy machinery and an engineered plan.
Finally, if you have massive water flooding (not just seepage) and a failed Sump Pump is a pump used to remove water that has accumulated in a basement sump pit. If your water table is that high, you might need a professional interior drain system or a full exterior waterproof membrane.
Will filling a crack stop my foundation from sinking?
No. Filling a crack is like putting a band-aid on a broken leg. It stops water and prevents the crack from getting wider, but it doesn't stop the house from settling. If the soil is still shifting, the house will continue to move. You must fix the drainage and soil moisture first.
Can I use hydraulic cement for foundation cracks?
Hydraulic cement is great for plugging active leaks quickly because it expands as it sets. However, it's very rigid. If your foundation moves even a tiny bit, the cement will crack again. Use it for emergency stops, but use polyurethane or epoxy for a long-term seal.
How do I know if a crack is structural or cosmetic?
Cosmetic cracks are usually thin, vertical, and don't change the shape of the wall. Structural cracks are often horizontal, wider than 1/4 inch, or appear as "stair-steps" in mortar. If you see a gap that you can fit a pencil into, or if the wall looks curved, it's likely structural.
Does foundation repair add value to my home?
Yes, but mostly by preventing value loss. A house with a known foundation problem is a nightmare to sell. Proper repair, especially when backed by a professional certification or warranty, removes a massive red flag for buyers and home inspectors.
How long does a DIY epoxy repair last?
If the root cause (like bad drainage) is fixed, an epoxy injection can last for the life of the home. Because epoxy is often stronger than the surrounding concrete, the crack is more likely to form elsewhere than to re-open in the same spot.
Next Steps for Homeowners
If you're just starting, don't buy any chemicals yet. Spend a weekend walking around your home during a heavy rainstorm. See where the water pools. That is your real starting point. If you find a crack, monitor it with a "crack gauge" (a simple ruler) for a few months to see if it's still growing. If it's stable, go ahead with the DIY sealing. If it's growing every month, put your tools away and call a structural engineer to get a professional assessment before you spend money on a temporary fix.