
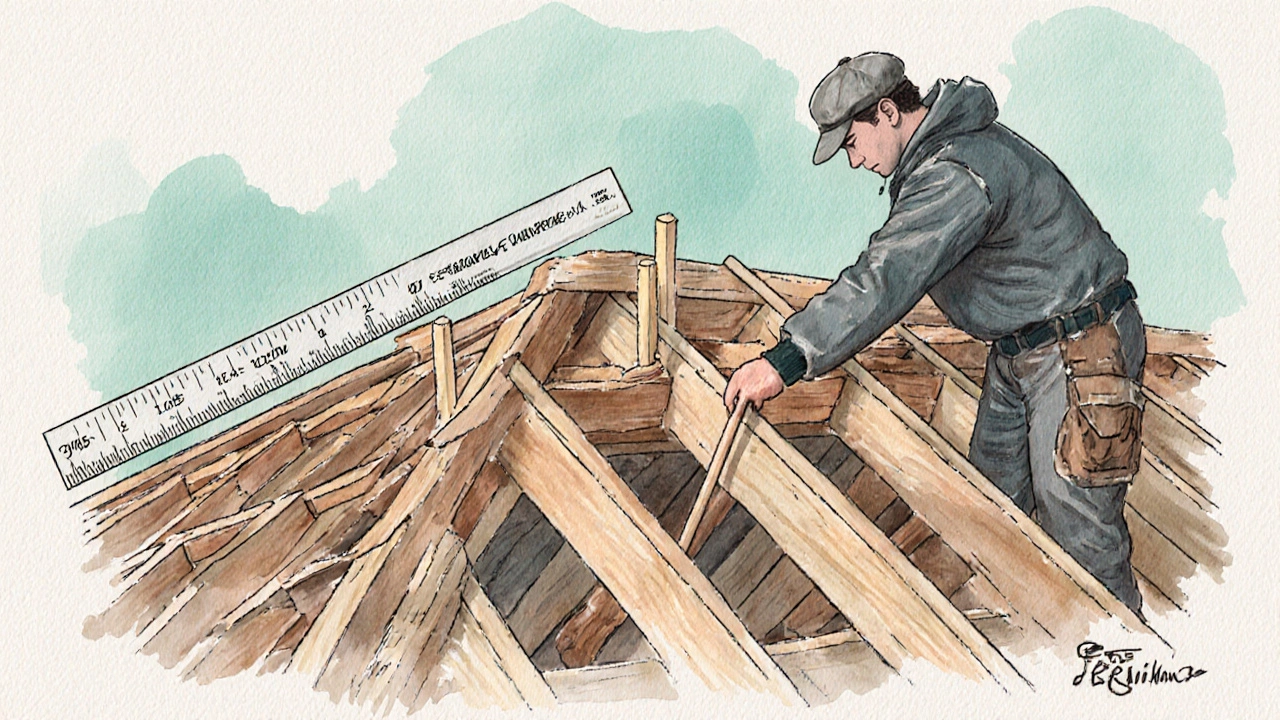
1-3 Rule Calculator
This tool applies the 1-3 Rule to help you quickly assess if your structural members meet basic residential load requirements. Enter the member type, depth in inches, and actual span in feet.
Quick Summary
- The 1‑3 rule helps you size and space structural members quickly.
- It originated from early 20th‑century framing manuals.
- Apply it to floor joists, roof rafters, and wall studs for typical residential loads.
- Use the rule as a first‑pass check, then verify with local building codes.
- A short checklist at the end saves you from common mistakes.
Ever stared at a set of plans and wondered whether the spacing between joists or studs is safe? The 1‑3 rule is a rule‑of‑thumb that construction pros have relied on for decades to answer that exact question. In plain English, it says that the maximum span of a structural member (in feet) should be roughly three times the depth of the member (in inches). If you’re building a floor, a roof, or a wall, the rule gives you a fast sanity check before you pull out a calculator.
Below we’ll unpack where the rule came from, how to use it on the job site, where it falls short, and what you need to do to stay on the right side of the building code a set of legally enforceable standards that dictate minimum safety and performance requirements for construction. By the end, you’ll be able to walk onto a job site, glance at a member, and instantly know if it passes the 1‑3 test.
Where the 1‑3 Rule Came From
The rule traces back to early American framing guides like the 1916 Carpenter’s Handbook. Builders needed a quick mental shortcut because detailed span tables weren’t always handy. The idea was simple: deeper members are stronger, so you can let them span farther. By converting depth (in inches) to a span (in feet) with a factor of three, you get a conservative estimate that works for most soft‑wood residential framing under typical live loads (40psf for floors, 20psf for roofs).
Even though modern software can calculate exact deflection limits, the 1‑3 rule survived because it’s fast, easy to remember, and surprisingly accurate for standard lumber grades like #2 Southern Pine or Douglas Fir-Larch.
How to Apply the Rule to Common Members
Below is a step‑by‑step guide you can run on any job site.
- Identify the member you’re checking (floor joist, roof rafter, wall stud, or beam).
- Measure the nominal depth of the member in inches (e.g., a 2×8 actually measures 7.25" deep).
- Multiply that depth by 3. The result is the maximum safe span in feet.
- Example: A 2×10 (9.25" deep) gives 9.25×3≈27ft.
- Compare the calculated span to the actual clear span on the job site. If the actual span is equal to or less than the 1‑3 value, you’ve passed the quick check.
- Document the result and move on to the next member.
Let’s see the rule in action for three typical scenarios.
Floor Joists
Imagine you’re framing a 12‑ft wide bedroom and you plan to use 2×8 joists (7.25" deep). Multiply 7.25 by 3, and you get about 21ft. Since 12ft<21ft, the joists comfortably meet the 1‑3 rule. If you wanted to span 22ft, you’d need a deeper joist-perhaps a 2×10.
Roof Rafters
For a low‑slope roof with 2×6 rafters (5.5" deep), the rule says 5.5×3≈16.5ft. If the roof ridge is 15ft away, you’re good. If the ridge is 18ft, you either switch to 2×8 or add a collar tie for extra support.
Wall Studs
Studs rarely need span calculations because they’re vertical, but the 1‑3 rule helps when you’re spacing them for shear walls. A 2×4 (3.5" deep) gives a maximum spacing of about 10.5ft. In practice you’ll space studs every 16" or 24" on center, so you’re well within limits.
When the Rule Isn’t Enough
The 1‑3 rule is a great first‑pass tool, but it’s not a substitute for official span tables or engineering analysis. You’ll hit its limits in a few situations:
- High live loads - Commercial spaces, libraries, or heavy‑equipment rooms often exceed the standard 40psf floor load.
- Long spans and open‑plan designs - When you’re trying to clear 30ft or more, the simple factor can become unsafe.
- Exotic timber or engineered wood products - LVL, glulam, or I‑joists have different strength characteristics; you’ll need manufacturer‑provided tables.
- Seismic or wind‑prone regions - Local codes may require stricter deflection limits and connection details.
In these cases, consult the structural engineer a licensed professional who evaluates loads, materials, and design to ensure safety and code compliance or refer to the local building code for exact requirements.
Compliance Checklist - Quick 1‑3 Rule Audit
| Member Type | 1‑3 Rule (ft) | Standard Span Table (ft) | When to Use Engineer |
|---|---|---|---|
| 2×8 Joist (7.25") | 21 | 23 (40psf, #2 SPF) | Spans >25ft or high loads |
| 2×10 Rafter (9.25") | 27.8 | 30 (30psf roof) | Steep roofs, snow loads |
| 2×4 Stud (3.5") | 10.5 | 12 (shear wall) | Seismic zones, >12ft walls |
Use this table as a sanity check. If your actual span is within the 1‑3 column but exceeds the standard span table, you probably need a stiffer grade or a different material.
Troubleshooting Common Mistakes
Even seasoned crews slip up. Here are the most frequent errors and how to fix them.
- Using nominal dimensions instead of actual depth. A 2×8 isn’t 8" deep; it’s 7.25". Always measure the actual depth for the calculation.
- Ignoring bearing conditions. The rule assumes proper end bearing on joist hangers or ledger boards. Bad bearing reduces effective span.
- Over‑relying on the rule for engineered wood. I‑joists have webs that change stiffness; follow the manufacturer’s span tables.
- Forgetting to account for deflection limits. A member may be strong enough to carry load but may sag too much, affecting floor feel. Check L/360 for residential floors.
Fixes are simple: double‑check actual dimensions, verify hangers are rated for the load, consult product data sheets, and run a quick L/360 deflection check using a basic calculator or spreadsheet.
Putting It All Together - Real‑World Example
Let’s walk through a full job site scenario.
- Project: New two‑story addition, 14ft wide living room.
- Chosen joist: 2×10 (actual depth 9.25").
- 1‑3 Rule: 9.25×3≈27.8ft maximum.
- Actual clear span: 14ft (center to center of support walls).
- Result: Passes the 1‑3 test comfortably.
- Next step: Verify against local code’s span table for #2 SPF at 40psf. Table says 23ft is allowed - still ok.
- Final check: Confirm joist hangers are rated for 50lb/ft load and that bearing plates are 1.5" thick.
By using the 1‑3 rule first, the crew saved 10minutes of table hunting, then confirmed compliance with the code for peace of mind.

Frequently Asked Questions
What does the ‘1‑3’ in the rule actually stand for?
It means the maximum safe span in feet is roughly three times the member’s depth in inches. So a 9" deep beam can span about 27ft.
Is the rule applicable to steel or concrete members?
No. The 1‑3 rule was developed for soft‑wood lumber. Metal and concrete have entirely different strength ratios and require engineering tables specific to those materials.
Can I use the rule for roof decks with heavy snow loads?
Only as a rough check. Snow loads often exceed 30psf, so you’ll need to reference the local code or a structural engineer for the exact required span.
How does the rule interact with deflection limits like L/360?
The 1‑3 rule focuses on strength, not stiffness. Even if a member meets the rule, it might still exceed the allowable deflection (L/360 for floors). Run a quick deflection calculation to confirm.
What if my actual span is slightly longer than the 1‑3 value?
Either upgrade to a deeper member, add a supporting beam or joist hanger, or consult an engineer. It’s safer to stay within the rule than risk a sagging floor.
Keep the 1‑3 rule in your toolbox as a quick sanity check, but always back it up with official span tables or professional advice when the project pushes the limits.