Home Remodeling Sequence Planner
Select a phase below to view detailed activities, estimated durations, and critical warnings. Following this sequence prevents costly rework.
Phase 1: Planning & Permits
Average Duration: 4–12 Weeks
Key Activities:
- Finalize design plans and lock in materials (lead times can be 8-16 weeks).
- Secure structural engineer stamps for load-bearing walls.
- Obtain local building department permits.
- Sign contracts with general contractor; set payment schedule (≤10% upfront).
Common Pitfalls to Avoid
You’ve got the vision. You’ve saved the cash. Maybe you even have a mood board pinned to your fridge with tile samples and paint swatches. But here is the harsh reality that trips up almost every homeowner: doing things in the wrong order can cost you thousands of dollars and months of delay. It’s not just about picking pretty fixtures; it’s about logistics, physics, and respecting how a house actually gets built.
If you start tearing down walls before you’ve secured your structural permits, or if you install expensive hardwood floors only to watch a plumber drill through them three weeks later, you’re fighting against the current. The correct remodeling order isn’t arbitrary-it’s a carefully choreographed dance of trades, materials, and drying times. This guide breaks down exactly what happens first, second, and last, so you don’t end up paying twice for the same mistake.
The Pre-Construction Phase: Planning and Permits
Before a single hammer swings, you need to get your paperwork in order. This phase is boring, but skipping it is how projects die. You cannot legally knock down load-bearing walls without an engineer’s stamp and a permit from your local building department. If you skip this, you risk fines, having to undo work, or failing inspection when you try to sell the house later.
During this stage, finalize your design plans. Lock in your materials. Yes, lock them in. Lead times for windows, custom cabinets, and specialty tiles can range from 8 to 16 weeks. If you order these after demolition starts, you’ll be staring at empty window frames while dust settles. Get your contracts signed, set your payment schedule (never pay more than 10% upfront), and establish a clear line of communication with your general contractor.
Demolition and Structural Changes
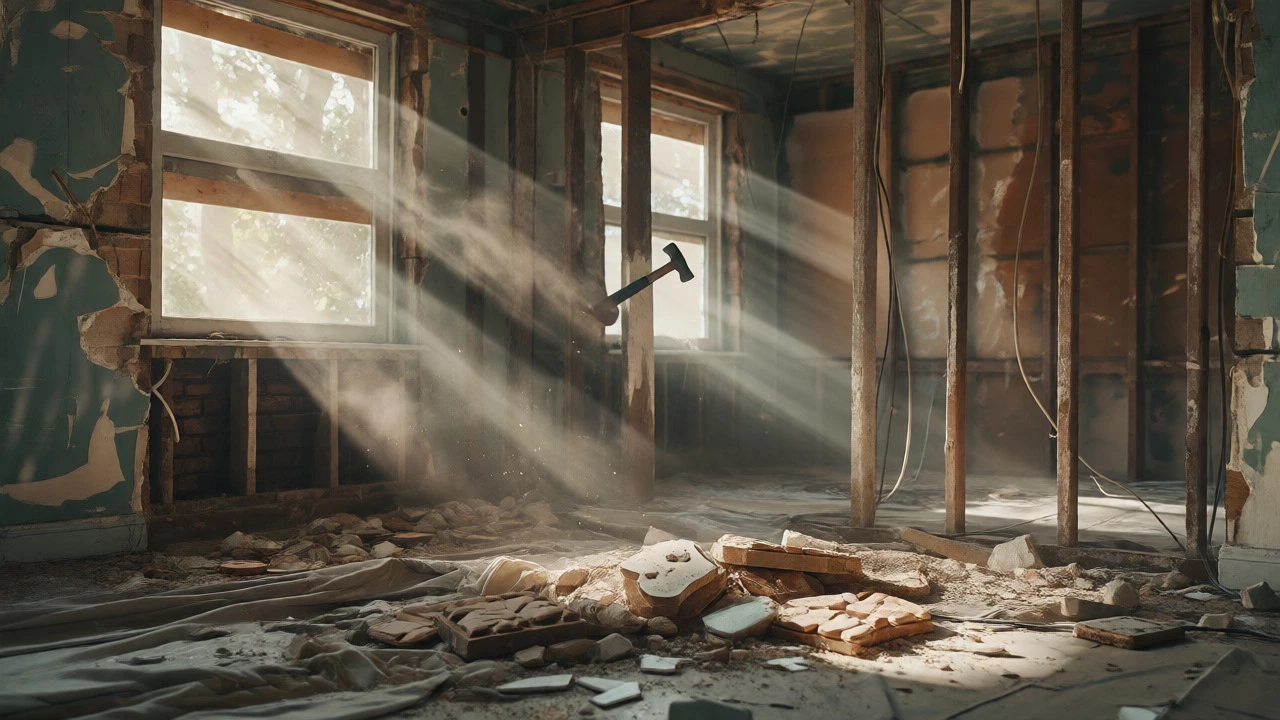
Once the permits are posted and the neighbors are warned, it’s time to tear things apart. Demolition is messy, loud, and disruptive. This is where you remove old flooring, strip cabinets, take out non-load-bearing walls, and gut bathrooms.
If your project involves moving walls, adding additions, or changing the roofline, this is when the heavy lifting happens. Structural steel beams, new headers, and foundation work all occur here. Think of this as resetting the canvas. You want the bones of the house exposed and corrected before you worry about aesthetics. If you find rot, mold, or outdated wiring during demo, pause and address it immediately. It’s cheaper to fix now than to patch over later.
| Phase | Key Activities | Average Duration (Medium Project) |
|---|---|---|
| Planning & Permits | Design finalization, material ordering, permit approval | 4-12 Weeks |
| Demolition & Structure | Tearing down walls, framing, roofing | 1-3 Weeks |
| Rough-In | Plumbing, electrical, HVAC runs inside walls | 2-4 Weeks |
| Insulation & Drywall | Insulating cavities, hanging drywall, taping, sanding | 2-3 Weeks |
| Finishes | Flooring, painting, trim, cabinetry | 3-6 Weeks |
Rough-In Mechanicals: Plumbing, Electrical, and HVAC
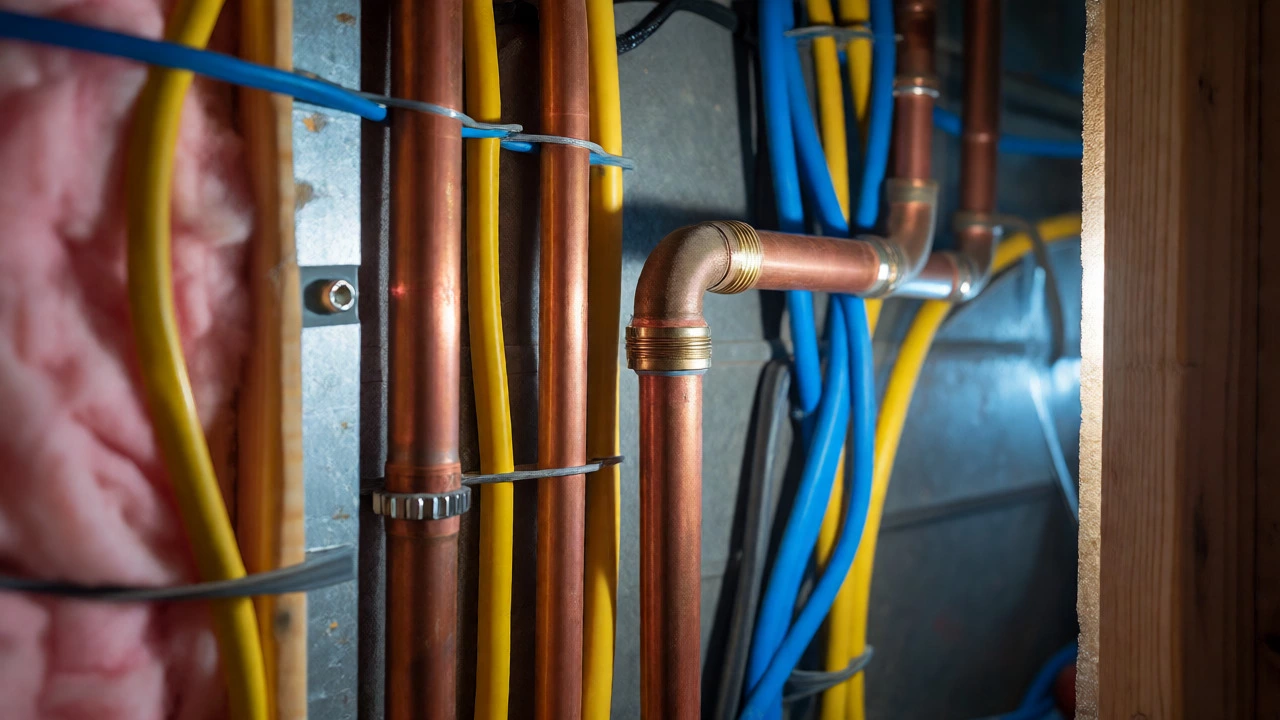
With the structure open and the debris cleared, the invisible systems go in. This is called the "rough-in" phase. Plumbers run new water supply lines and drain pipes. Electricians pull new wires for outlets, switches, and lighting circuits. HVAC technicians install ductwork or mini-split lines.
Why does this happen before drywall? Because once you close up those walls, accessing a pipe or wire requires cutting into the finished surface. If you plan to add a smart home system, extra USB outlets, or a wet bar, now is the time to specify their locations. Double-check every outlet height and switch placement. It’s easy to say "put it there" on paper, but standing in the room helps you realize that a switch behind a door swing is annoying.
After the rough-ins are complete, an inspector must come out. They check that wires are properly grounded, pipes are sloped correctly, and gas lines are tested. Do not proceed to insulation until they sign off. If you cover bad work, you’re asking for trouble.
Insulation and Air Sealing
Once the mechanicals pass inspection, it’s time to make the house efficient. Insulation goes into wall cavities, attics, and crawl spaces. But insulation alone isn’t enough. Modern homes need air sealing. Gaps around pipes, wires, and top plates let conditioned air escape and outside air sneak in.
Using spray foam or caulk to seal these gaps reduces energy bills and improves comfort. If you live in a climate with extreme heat or cold, this step is critical. Don’t skimp here. High-quality insulation pays for itself over time through lower utility costs and better noise reduction. It also prevents moisture buildup inside walls, which protects your structural integrity.
Drywall: Hanging, Taping, and Sanding
This is the turning point where the house starts to look like a home again. Drywallers hang sheets of gypsum board over the studs, covering the insulation and wires. Then comes the tedious part: taping the seams, applying joint compound, and sanding it smooth.
Sanding creates a fine white dust that covers everything. It gets into HVAC vents, carpets, and cracks in wood. Many homeowners choose to install hard-surface flooring (like tile or engineered wood) before drywall to avoid dust damage, but this depends on the contractor’s preference and protection methods. Generally, drywall comes before carpet and painting. Ensure the drywall is completely dry before painting; otherwise, you’ll trap moisture and cause bubbles or mold.
Exterior Work: Siding, Windows, and Roofing
While interior finishing begins, exterior crews often work simultaneously. New windows should already be installed to protect the interior from weather. Now, siding, brick veneer, or stucco goes up. Roofing shingles or metal panels are installed.
Coordinate this with your interior timeline. If you’re replacing windows, do it early in the project to prevent rain damage. Exterior work is weather-dependent, so keep an eye on forecasts. A well-sealed exterior shell ensures that your expensive interior finishes aren’t ruined by leaks or drafts.
Interior Finishes: Flooring, Painting, and Trim
Now we enter the aesthetic phase. The order here matters significantly to prevent damage.
- Hardwood/Tile Flooring: Often installed before cabinets in kitchens to allow for easier cleaning under appliances, though some prefer installing cabinets first to save material. Discuss with your installer. Tile is durable and can handle traffic; hardwood is softer and needs protection.
- Cabinets: Kitchen and bathroom vanities go in next. Installers level them precisely and secure them to the studs.
- Countertops: Once cabinets are set, templates are taken for stone countertops. These usually arrive 1-2 weeks later and are installed with precision.
- Trim and Doors: Baseboards, crown molding, and interior doors are hung. This hides the gaps between walls and floors.
- Painting: Walls and ceilings are painted last among major surfaces. Why? Because trim installation often damages nearby walls, and painters can touch up easily. However, primer might be applied earlier.
Note: Some pros recommend painting walls before trim to avoid masking tape edges on fresh paint, but modern techniques allow for clean lines either way. Just ensure the paint is fully cured before heavy furniture moves in.
Fixtures and Final Touches
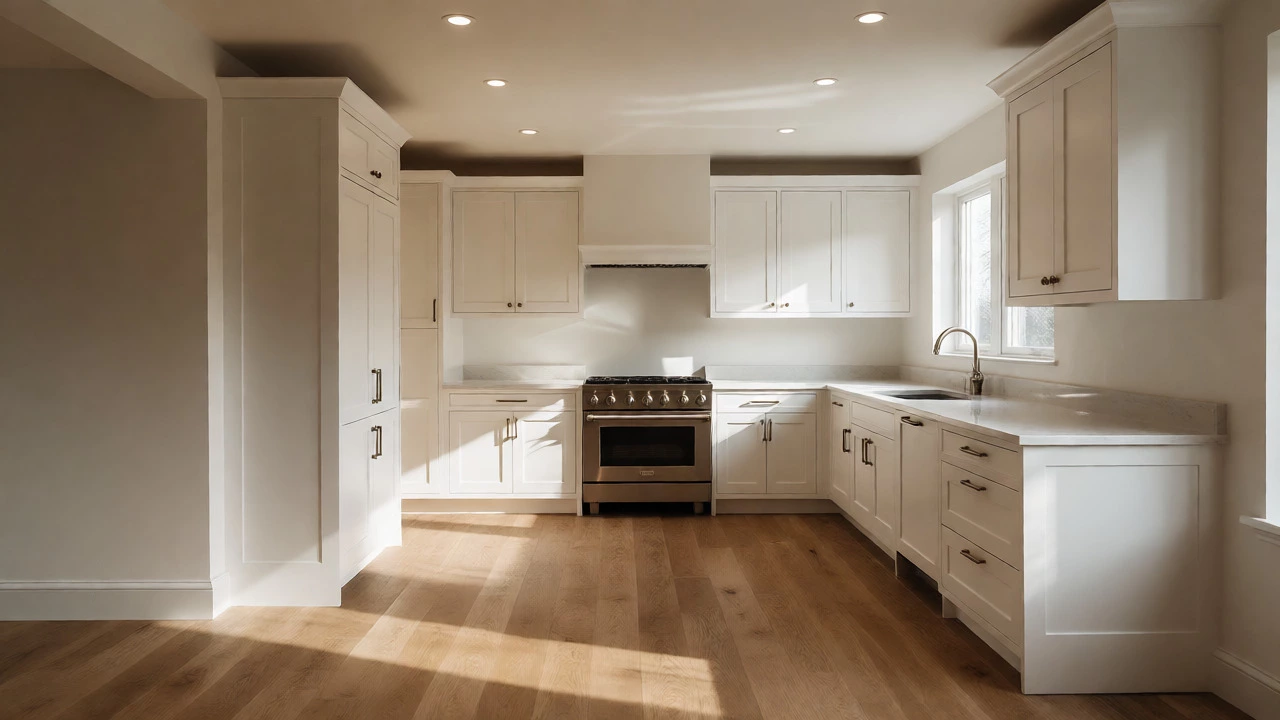
The final push involves installing hardware and appliances. Faucets, showerheads, light fixtures, and outlets cover plates go on. Appliances are delivered and connected. This is when the house finally smells like "new" rather than "dust."
Perform a punch list walk-through. Check every door for alignment, test every faucet for leaks, and inspect paint for drips. Your contractor should fix these minor issues before releasing the final payment. Take photos of the completed work for your records and warranty claims.
Common Pitfalls to Avoid
One major mistake is buying furniture too early. Wait until the space is measured and finished. Another is ignoring ventilation. Adding tight insulation and new windows can trap indoor pollutants unless you upgrade your HVAC filtration or add an ERV (Energy Recovery Ventilator).
Also, don’t underestimate cleanup. Post-construction cleaning is a specialized job. Standard cleaners won’t remove construction dust from high shelves or grout lines. Budget for a professional deep clean at the very end.
Frequently Asked Questions
Can I do flooring before cabinets?
Yes, many homeowners prefer installing continuous hardwood or tile flooring before cabinets. This allows for easier cleaning under appliances and future cabinet replacements without damaging the floor. However, it uses more flooring material. Installing cabinets first saves money on materials but makes cleaning harder and limits future layout changes.
When should I buy my appliances?
Buy appliances during the planning phase, especially if they require specific dimensions or hookups (like French door fridges or slide-in ranges). Measure them and provide specs to your kitchen designer early. However, have them delivered only near the end of the project to prevent damage or theft during construction.
Do I need to move out during a full remodel?
For a whole-house remodel involving plumbing, electrical, and structural work, yes, it is highly recommended. Dust, noise, lack of running water, and safety hazards make living in the home miserable and dangerous. For partial remodels (like just a kitchen), you might stay if you have another functional bathroom and kitchen area, but expect significant disruption.
What happens if I change my mind mid-project?
Changes are expensive and cause delays. Every change order requires re-ordering materials, rescheduling subcontractors, and potentially redoing work. Always try to finalize decisions before demolition starts. If you must change something, do it before the relevant trade arrives on site.
How long does a typical kitchen remodel take?
A standard kitchen remodel takes 6 to 12 weeks from start to finish, excluding the planning and permit phase. Delays often occur due to backorders on cabinets, countertop fabrication time, or unexpected structural issues found during demolition.