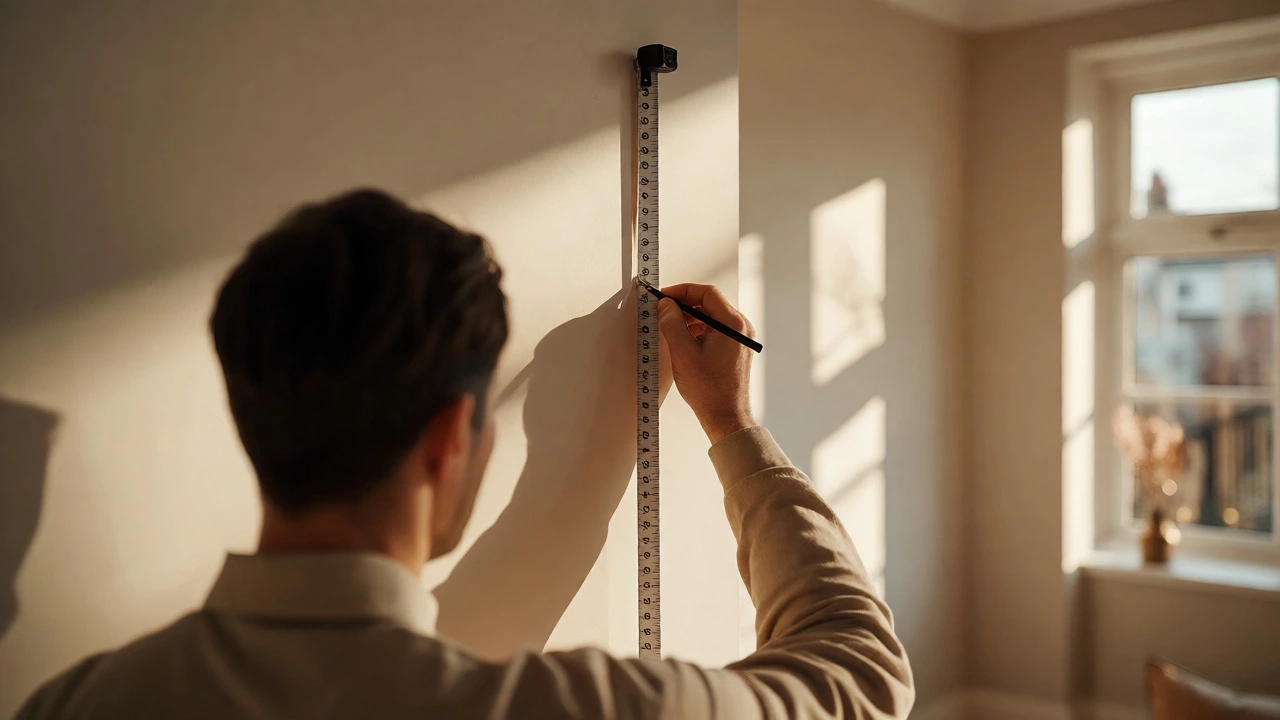
Picture Hanging Calculator
Stop guessing where to hammer that nail. Enter your frame details below to find the precise height for your nail hook so the center of your art sits at the optimal 57-inch viewing level.
Frame Measurements
Result
Mark your nail at:
From the floor.
This ensures the center of your picture is exactly 57 inches from the floor.
Quick Tip
If hanging above furniture (like a sofa), ignore this calculation. Instead, place the bottom of the frame 8–10 inches above the furniture top.
You’ve bought the perfect piece of wall art, found the right spot on your living room wall, and you’re ready to hammer in that nail. But then the panic sets in. Do you hang it high? Low? Centered with the sofa? If you’ve ever stood back, squinted, and felt like something was just "off," you aren’t alone. The culprit is usually one simple mistake: ignoring the golden standard of vertical placement.
Enter the 57-inch rule. This isn’t some arbitrary number pulled from thin air; it’s the industry standard used by galleries, museums, and professional interior designers worldwide. It dictates that the center of any picture should sit exactly 57 inches (about 145 cm) from the floor. Why this specific number? Because it aligns with the average human eye level. When you follow this rule, your art feels intentional, balanced, and visually accessible, rather than floating aimlessly or crushing the furniture below it.
Why 57 Inches Is the Magic Number
The logic behind the 57-inch rule is rooted in ergonomics and visual comfort. According to data from the National Health and Nutrition Examination Survey, the average height for an adult woman in the United States is roughly 63.5 inches, while men average about 69.5 inches. However, when we look at where people naturally rest their gaze during casual conversation or while seated, the sweet spot lands lower-around 57 inches.
Museums adopted this standard decades ago to ensure visitors could view artwork comfortably without craning their necks up or stooping down. If you hang art too high, it disconnects from the room’s architecture. If you hang it too low, it gets lost behind furniture or feels cluttered. By anchoring the center of your frame at 57 inches, you create a visual baseline that ties the entire room together. It makes the space feel larger and more cohesive because your eyes move smoothly across the walls rather than jumping up and down.
| Context | Recommended Center Height | Reasoning |
|---|---|---|
| General Living Areas | 57 inches | Average standing eye level; museum standard. |
| Above Furniture (Sofa/Buffet) | 8-10 inches above top edge | Creates connection between art and object. |
| Hallways & Stairwells | 57-60 inches | Accounts for walking motion and sightlines. |
| Kitchen/Dining Walls | 57-60 inches | Adjusted for counter heights and dining posture. |
How to Calculate the Exact Nail Position
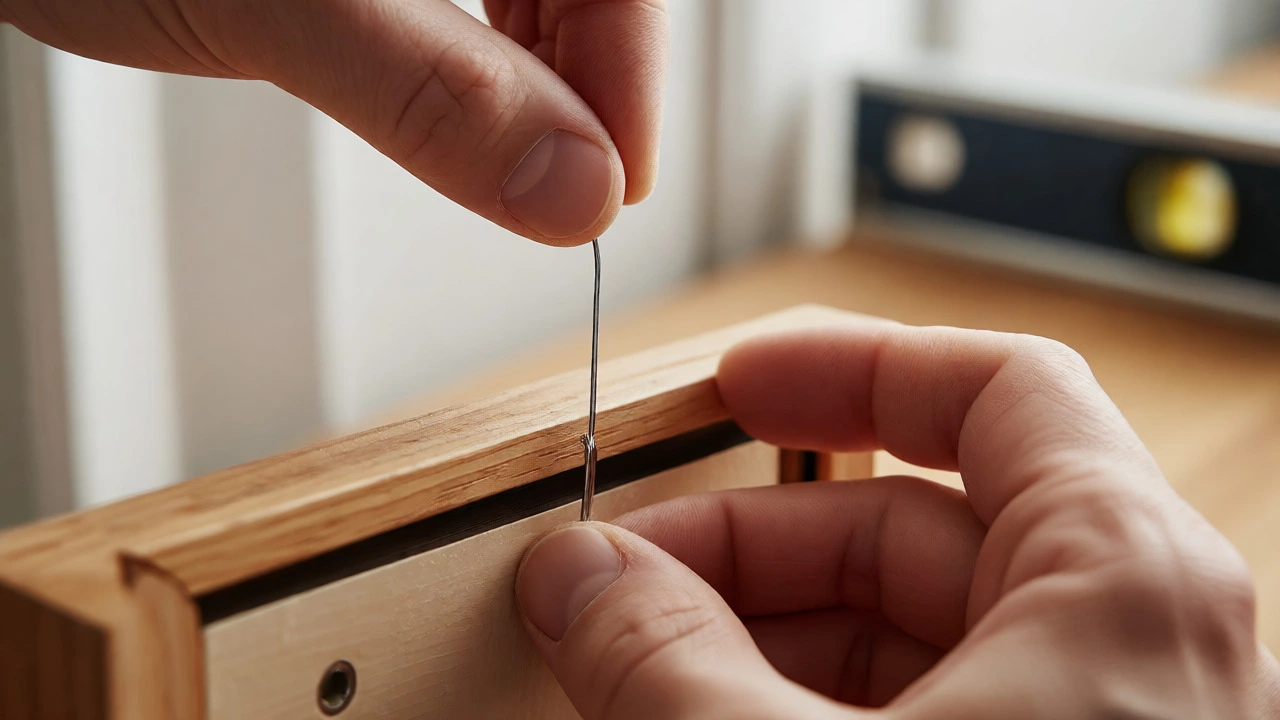
Knowing the rule is one thing; executing it is another. You can’t just measure 57 inches from the floor and hammer a nail there. That would put the nail at the center of the wall, but the wire or hook on the back of your frame sits above the center point. If you ignore the hardware, your art will hang too low.
Here is the foolproof method I use every time I hang a piece:
- Measure the total height of your framed art.
- Divide that number by two to find the true center of the frame.
- Measure the distance from the top of the frame to the taut hanging wire or hook. Pull the wire up as if it were hanging on a nail to get an accurate measurement.
- Subtract the wire distance from half the frame height.
- Add that result to 57. This final number is where your nail needs to go.
Let’s say you have a 24-inch tall frame. Half of that is 12 inches. If the wire hangs 2 inches below the top edge when taut, you subtract 2 from 12, which gives you 10 inches. Add 10 to 57, and you get 67. So, you mark your wall at 67 inches. This ensures the visual center of the image hits that perfect 57-inch mark.
When to Break the Rules
While the 57-inch rule is fantastic for open walls, it doesn’t apply universally. Context matters more than rigid adherence to numbers. You need to adjust based on what surrounds the art.
If you are hanging art above furniture, such as a console table, fireplace mantel, or the back of a sofa, forget the 57-inch rule. Instead, focus on proximity. The bottom of the frame should sit 8 to 10 inches above the top of the furniture. This creates a visual link, making the arrangement look like a deliberate composition rather than two separate elements fighting for space. If you leave too much gap, the art looks like it’s floating away from the furniture.
In rooms with very high ceilings, sticking strictly to 57 inches might make the art feel buried in the lower third of the wall. In these cases, you can raise the center slightly to 60 or even 65 inches, especially if the ceiling height exceeds 10 feet. The goal is to maintain proportion relative to the room’s volume, not just the floor.
Also, consider who uses the room. In a nursery or a child’s bedroom, you want the art at the child’s eye level, which is significantly lower. For a toddler, aiming for 40 to 45 inches might be more appropriate so they can actually see and engage with the images.
Common Mistakes That Ruin Wall Art Placement
I’ve seen countless homes where beautiful art is undermined by poor placement. Here are the most frequent errors and how to fix them.
- Hanging art too high: This is the classic mistake. People often hang pictures near the crown molding because they think it “fills” the wall. It rarely works. High art draws the eye upward, leaving a dead zone between the art and the furniture. Stick to the mid-wall zone unless you have a specific architectural reason not to.
- Ignoring scale: A tiny print on a massive blank wall looks lonely, regardless of where you hang it. If the wall is large, group multiple pieces into a gallery wall. Treat the cluster as one single entity. Measure the center of the entire cluster to 57 inches, not each individual frame.
- Crowding the corners: Avoid placing art directly in the corner of a room. Corners are visually chaotic and shadowy. Give your art breathing room-at least 12 to 18 inches from adjacent walls-to let it stand out.
- Using the wrong hardware: Nothing ruins a perfectly placed picture faster than it sliding off the nail. Use D-rings and picture wire for heavier frames, and adhesive strips only for light canvases. Always check the weight rating of your hooks.
Tools You Need for Perfect Hanging
You don’t need a contractor to get this right. A few basic tools will save you hours of frustration and patch jobs.
- Tape Measure: Essential for calculating those 57-inch marks. Get one with a locking mechanism so you can hold the length steady.
- Pencil: For marking the wall. Chalk pencils work well on dark walls, while standard graphite is fine for drywall.
- Level: Even if you measure perfectly, a slight tilt is noticeable. Use a small torpedo level to ensure the frame is straight after hanging.
- Painter’s Tape: Cut paper templates of your art size using newspaper or kraft paper. Tape these to the wall first. Step back and assess the placement before you commit to a hole. This is the best way to test arrangements.
- Stud Finder: If you’re hanging heavy mirrors or large canvases, hitting a stud provides the most secure anchor. If no stud is available, use appropriate drywall anchors rated for the weight.
Creating a Cohesive Gallery Wall
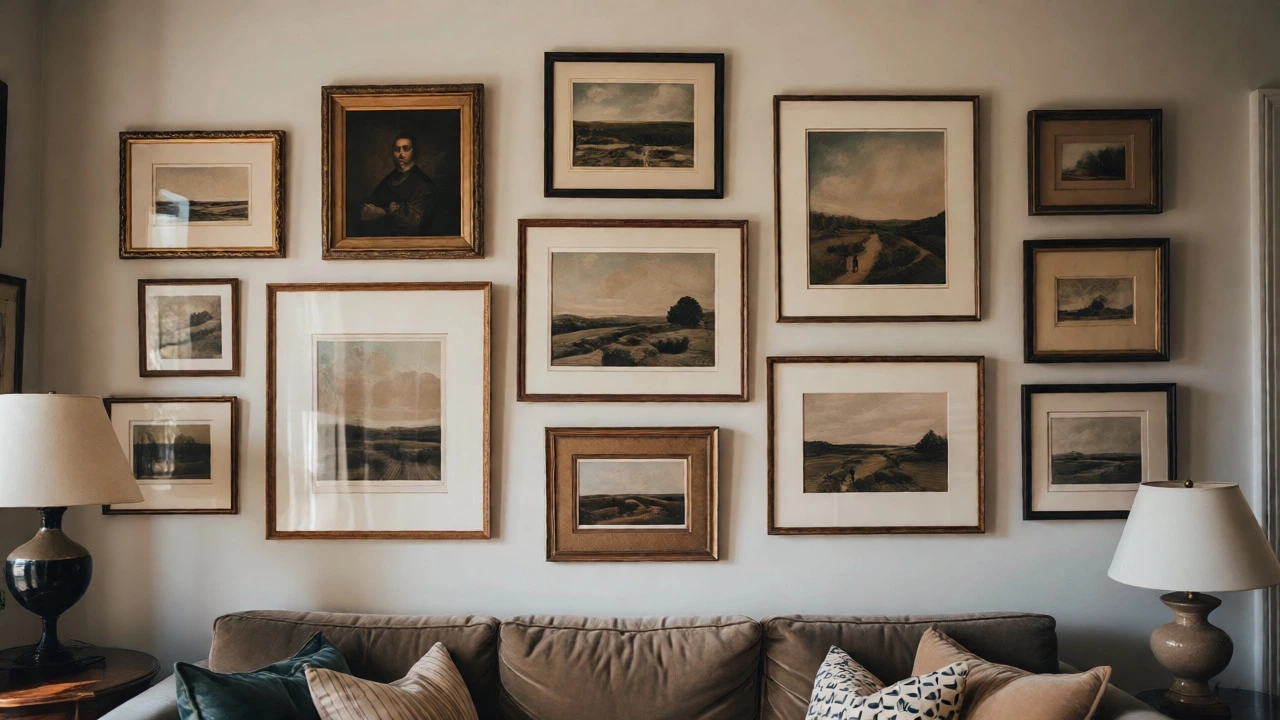
Gallery walls add personality and visual interest, but they can quickly become messy if not planned. The key is to treat the collection as a single unit.
Start by laying your frames on the floor. Experiment with layouts until you find a configuration you like. Keep consistent spacing between frames-usually 2 to 3 inches works best for tight clusters, while 4 to 6 inches allows for more breathing room. Once you’re happy with the layout, measure the total width and height of the arrangement. Find the geometric center of this overall shape. Mark that center point on the wall at 57 inches from the floor. Then, transfer the pattern to the wall using painter’s tape outlines or a grid system.
Varying frame styles can look eclectic and charming, but mixing too many finishes (gold, silver, wood, black) can feel chaotic. Try to stick to two or three complementary materials. Also, mix orientations-some horizontal, some vertical-to create dynamic movement within the static wall.
Final Thoughts on Visual Balance
Hanging pictures isn’t just about filling empty space; it’s about curating the experience of the room. The 57-inch rule is your starting point, a reliable compass that prevents obvious errors. But once you master the basics, trust your instincts. Walk through the room. Sit on the sofa. Stand at the doorway. Does the art draw you in? Does it feel comfortable?
Remember, perfection isn’t the goal-harmony is. If a piece looks better slightly higher or lower because of the lighting or the furniture arrangement, adjust it. The rules are there to guide you, not to trap you. With a little patience and the right measurements, you’ll transform your walls from awkward gaps into thoughtful focal points.
Does the 57-inch rule apply to all types of art?
Generally, yes. Whether it’s a photograph, painting, or mirror, the center should ideally sit at 57 inches for standard viewing. However, functional items like clocks or calendars might need adjustment based on utility. Mirrors are often hung slightly higher to reflect light and show more of the room, but keeping the center near 57-60 inches is still a safe bet.
What if my ceiling is very high?
In rooms with ceilings over 10 feet, strictly following the 57-inch rule can make art feel disconnected from the upper wall space. In these cases, raising the center to 60 or 65 inches helps balance the vertical proportions. Always consider the scale of the room relative to the art size.
How far above a sofa should I hang a picture?
Do not use the 57-inch rule here. Instead, position the bottom of the frame 8 to 10 inches above the top of the sofa back. This creates a visual connection between the furniture and the art, preventing the "floating" effect that occurs when there is too much gap.
Can I use adhesive strips instead of nails?
Yes, for lightweight frames (typically under 10-15 lbs depending on the brand). Brands like Command offer various strength levels. Ensure the wall surface is clean and smooth. For heavier art or textured walls, nails or screws with anchors provide a more secure hold and prevent accidental drops.
Is 57 inches measured to the top or bottom of the frame?
It is measured to the exact center of the frame. You must calculate the nail position by accounting for the hanging hardware (wire or hook) distance from the top of the frame. Simply measuring 57 inches to the top or bottom will result in incorrect placement.