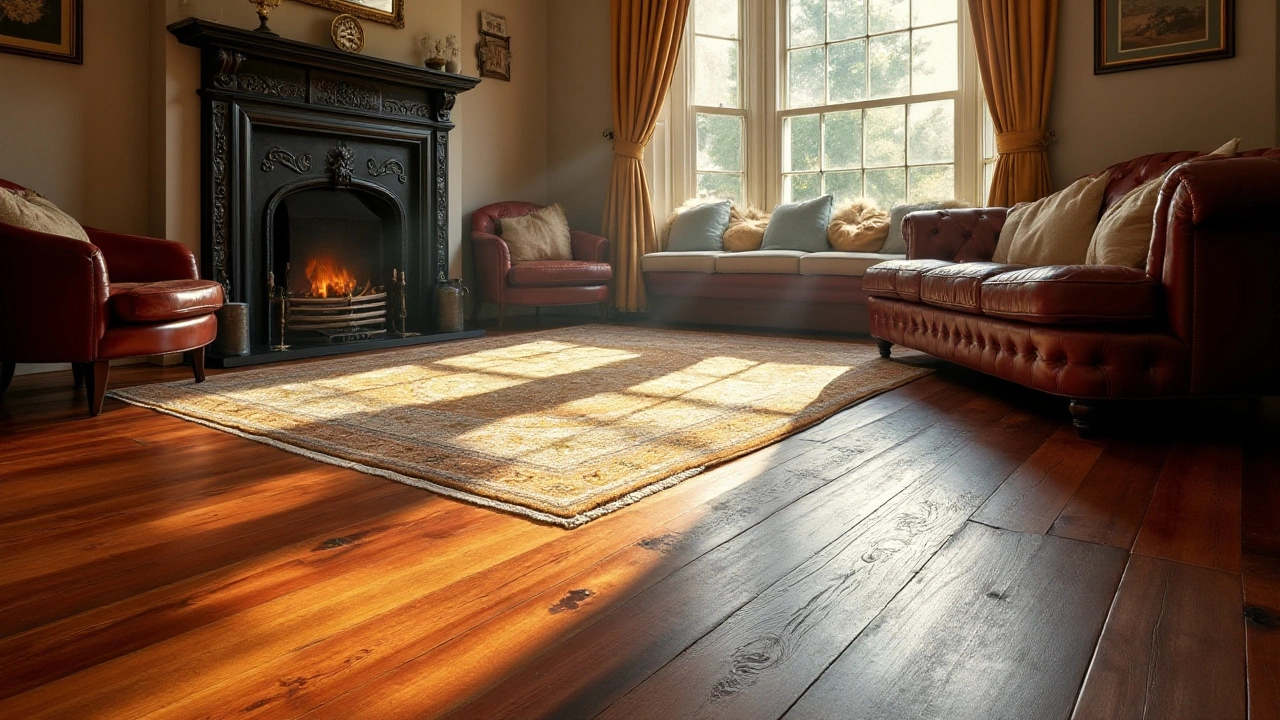
Wood Flooring: Types, Benefits & How to Install Them
Wood flooring is a classic choice that adds warmth and style to any room. Whether you’re renovating a kitchen, fixing a hallway, or building a new home, the right wood floor can make a huge difference. In this guide you’ll learn about the main types of wood flooring, how to pick the best one for your space, and simple steps to install and maintain it.
Choosing the Right Wood Floor
First, think about the look you want. Solid hardwood is thick planks that can be sanded and refinished multiple times. It’s perfect for living rooms and bedrooms where you want a lasting, natural feel. Engineered wood has a thin top layer of real wood glued to a stable core. It’s cheaper than solid wood and works well on concrete slabs or over radiant heating.
Next, consider the wood species. Oak is the most popular because it’s hard, affordable, and takes stain well. Walnut gives a darker, richer tone but costs more. Maple is light and subtle, while exotic woods like teak or mahogany make a bold statement. Choose a species that matches your décor and budget.
Finish matters too. A prefinished floor arrives with a factory‑applied coating, so you skip sanding on site. It’s fast and low‑mess. A site‑finished floor lets you sand and stain after installation, giving you more control over color but requiring extra work. For DIYers, prefinished is usually the safer bet.
Finally, check the hardness rating (Janka scale). Higher numbers mean the wood can handle traffic and pets better. If you have kids or a busy household, aim for oak, hickory, or a similar hard species.
Installing and Maintaining Your Wood Floor
Installation starts with a clean, level subfloor. For solid hardwood, leave a ¼‑inch expansion gap around the room’s perimeter; the wood expands and contracts with humidity. Engineered boards often click together, making a floating floor that sits on top of the subfloor without nails.
Use a moisture meter to check concrete slabs before you lay any wood. If the reading is high, add a moisture barrier to avoid warping later. Lay the boards perpendicular to the joists for extra stability, and stagger the end joints by at least 6 inches for a natural look.
After the floor is down, sand any rough spots and apply a finish if you chose a site‑finished product. Polyurethane is the most common finish – it’s durable and easy to touch up. If you went with a prefinished floor, just add a protective coat of polish to bring out the shine.
Maintenance is simple. Sweep or vacuum daily to remove grit that can scratch the surface. Use a damp mop (not wet) with a cleaner made for wood floors. Avoid steam mops, harsh chemicals, or standing water. Recoat the floor every few years if you notice wear, and sand only when needed.
Wood flooring can last decades when you treat it right. Keep an eye on humidity levels (ideally 30‑50%) and use area rugs in high‑traffic zones to protect the finish. With these tips, you’ll enjoy a beautiful, resilient wood floor that adds value and comfort to your home for years to come.
Timeless Wood Flooring Colors: Your Ultimate Guide to Everlasting Style
- Gavin Whitaker
- |
- |
- 0
Choosing the right wood flooring color is crucial for a timeless look that never goes out of style. This article explores classic wood hues, why they're enduring, and offers tips on selecting the best one for your home. Discover how to balance color with room size, lighting, and decor to ensure your space remains stylish for years to come.
View more