Pictures Decoration: Quick Ways to Make Your Walls Pop
Ever walked into a room and felt something was missing? A few well‑chosen pictures can turn a bland wall into a conversation starter. You don’t need an interior‑design degree – just a few practical tricks and a bit of confidence.
First, decide what vibe you want. Are you after a calm, monochrome look or a bold, colourful splash? Your answer will guide everything else, from frame colour to layout style. Keep it simple: pick a theme, stick to it, and let the pictures do the talking.
Choosing the Right Frames
Frames are the bridge between the picture and the wall. A thin black frame works well with modern photography, while a thick wooden frame adds warmth to family photos. If you’re mixing styles, go for a uniform colour – like all white or all metal – to keep the display cohesive.
Don’t forget size. A tiny 5‑inch frame can get lost on a large wall, while a massive 30‑inch frame can overwhelm a small room. Measure the wall space first, then lay your frames on the floor to test different arrangements before you nail anything.
For a budget‑friendly option, try repurposing old frames. A quick coat of spray paint can turn a thrift‑store find into a chic accent. This also adds a personal touch, especially if you mix frames of varying depths for a layered feel.
Creating a Cohesive Gallery Wall
Gallery walls are the go‑to solution for picture lovers who have more than one piece to show off. Start with a focal point – the largest or most striking image – and build outwards. Keep the spacing consistent; 2‑inches between frames looks tidy, while 4‑inches gives a looser vibe.Use paper cut‑outs or masking tape on the wall to map the layout before you drill. This trick saves time and avoids unnecessary holes. If you’re unsure about symmetry, try a horizontal line of frames at eye level – it creates balance without feeling boxed in.
Mixing mediums works well too. Pair a canvas print with a framed photo, or add a small mirror for reflectivity. Just ensure the colour palette stays complementary – too many clashing hues can make the wall feel chaotic.
Once the wall is up, step back and see if any piece feels out of place. A quick swap of two frames can instantly improve flow. Remember, you can always rotate pictures seasonally; a fresh set of summer shots in July keeps the décor lively.
Beyond frames, consider adding small decorative items like wall‑mounted shelves for plants or a single sculpture. These break up the visual weight and give the eye places to rest.
Finally, lighting matters. A well‑placed picture light or a slim LED strip behind the frames adds depth and draws attention to your art. Even a simple ceiling spotlight angled toward the wall can make the pictures pop.
With these easy steps – pick the right frames, plan a balanced gallery, and mind the lighting – you’ll see how fast a few pictures can transform any space. No need for a full remodel; just hang, adjust, and enjoy the new vibe you’ve created.
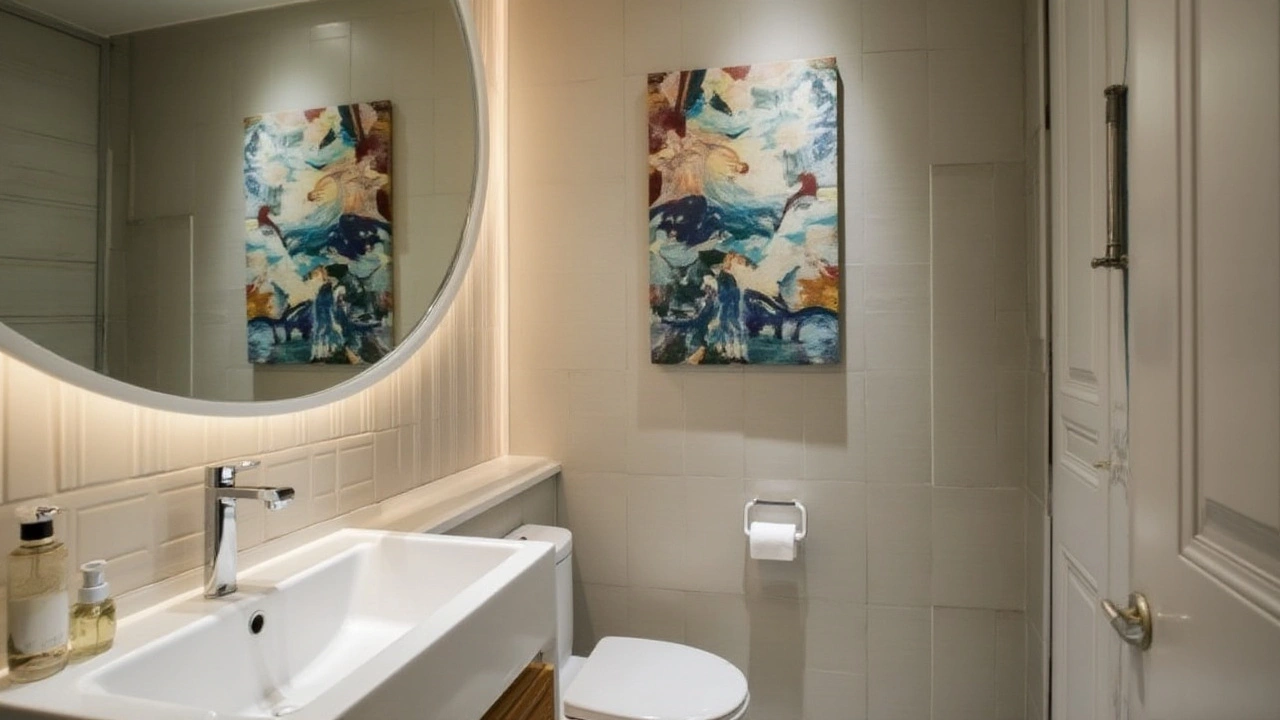
Enhance Your Bathroom Decor with Pictures: A Comprehensive Guide
- Gavin Whitaker
- |
- |
- 0
Adding pictures to your bathroom can be a creative way to enhance its aesthetic appeal. This article explores the benefits and considerations of including wall art in your bathroom decor. It addresses practical aspects, such as moisture considerations and selecting the right type of art. Discover tips to balance functionality with style, ensuring your bathroom space becomes a more inviting environment.
View more