Picture Placement Guide: Hang Your Art Right the First Time
Ever stare at a blank wall and wonder why your photos look off? It’s not the pictures, it’s how you put them up. The good news is you can fix it in minutes with a few simple rules. Below you’ll find the basics that work for any room, no fancy tools required.
Choosing the Right Height
The number one mistake is hanging art too high or too low. A reliable shortcut is to aim for the "eye level" rule: the center of the piece should sit about 57‑60 inches from the floor. This matches the average eye line and keeps the view comfortable for most people.
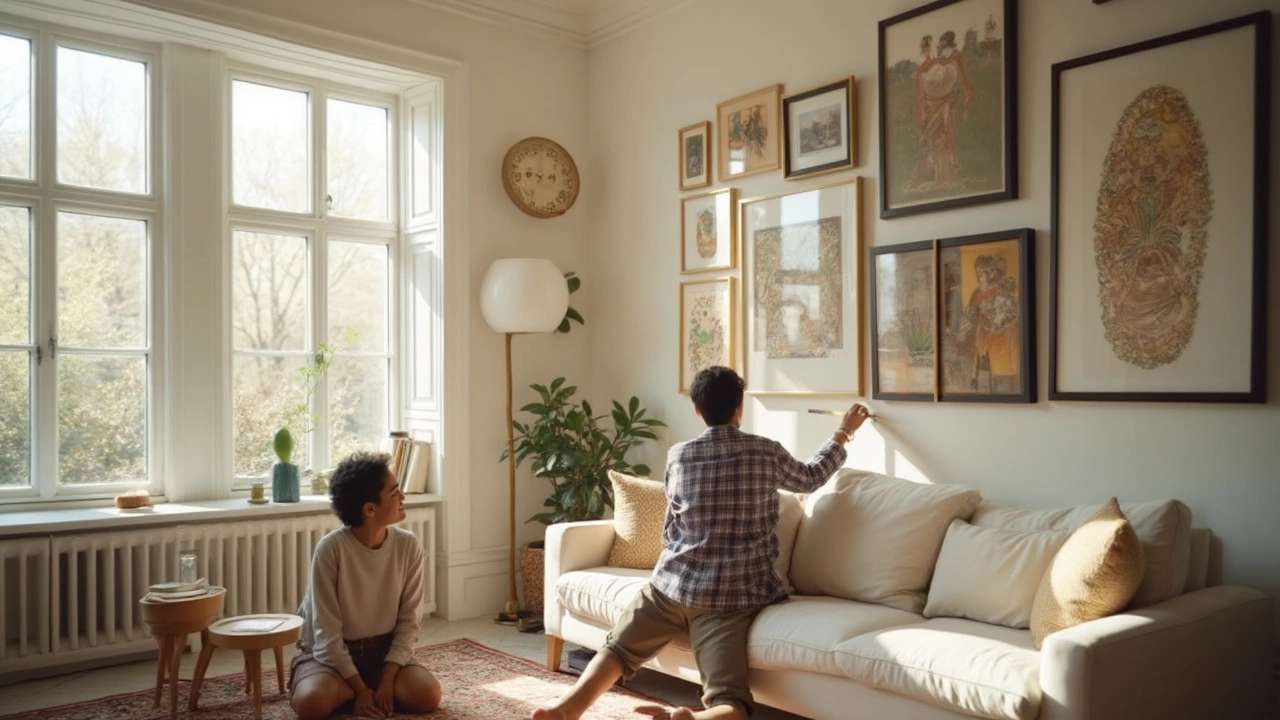
If you’re working with furniture, use the top of the sofa or the back of a chair as a reference. Try to keep the gap between the furniture and the bottom of the frame around 6‑12 inches. That small space makes the artwork feel connected to the room rather than floating above it.
For large statements, you can push the height a bit higher, but make sure the entire piece stays visible from a standing position. Measure the wall, mark the midpoint, then work outward. A quick tape measure check saves you from awkward gaps later.
Arranging Multiple Pieces
Grouping pictures looks intimidating, but a few guidelines keep it tidy. Start by laying the frames on the floor in the pattern you like. Whether a straight line, a grid, or a loose cluster, keep the spacing consistent—usually 2‑4 inches between frames.
If the frames are different sizes, anchor the arrangement by placing the biggest piece in the center or at the bottom. Then fill around it with the smaller ones. This creates a visual balance without making the wall feel cluttered.
When hanging the group, use a light‑pencil mark to sketch a rectangle that matches the outer edges of your layout. This invisible box helps you keep the whole arrangement level. Nail or hook the top corners first, then work inward.
Don’t forget the wall’s architecture. A picture over a mantel should stay within the mantel’s width, and art above a doorway works best when the bottom sits a few inches above the frame. These little details make the placement feel intentional.
Finally, step back and look from different angles. If something feels off, adjust the spacing or height by a half‑inch—small tweaks can make a big difference.
With these rules in your toolbox, you’ll stop guessing and start creating walls that feel right the first time. Grab a level, measure twice, and enjoy the fresh look your pictures bring to the space.
2/3 Rule for Hanging Pictures: The Simple Secret to Perfect Wall Art Placement
- Gavin Whitaker
- |
- |
- 0
The 2/3 rule for hanging pictures is a straightforward yet genius trick that takes the guesswork out of where your art should go. This article unpacks how it really works, why it's so effective, and how to use it for picture-perfect walls every time. Expect practical tips, easy-to-follow advice, and some clever fixes for tricky spots. You'll find answers to common wall art mistakes and learn how to create a balanced, stylish look. By the end, hanging art that looks professionally placed will feel easy.
View more