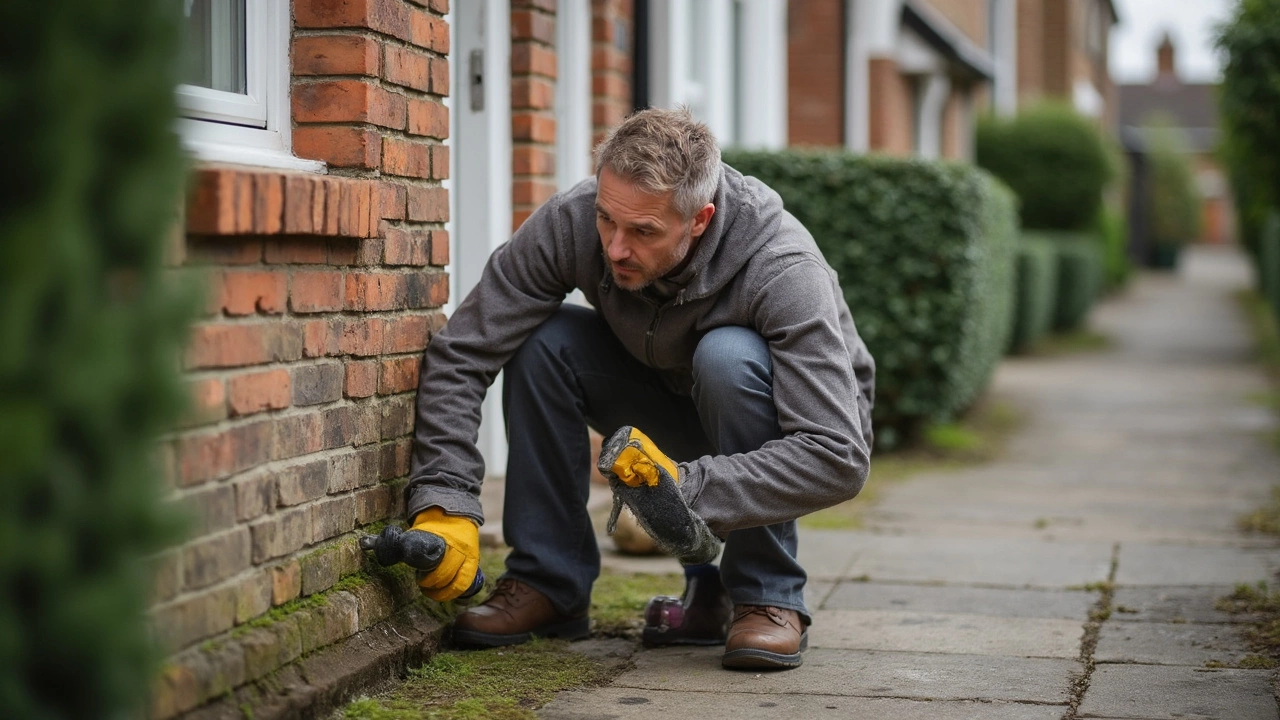
DIY Foundation Guide: What You Need to Know Before You Start
If your floor feels a bit spongy or you see cracks in the walls, the foundation could be the culprit. Fixing it yourself can save money, but it also demands the right plan. Below we break down the basics – from spotting trouble to choosing the right materials – so you can work confidently and keep your home stable.
Spot the Signs and Decide If DIY Is Right for You
First, walk around your house and look for common warning signs: uneven floors, doors that stick, or cracks that grow wider over time. If the cracks are hair‑line and the floor is only a little uneven, a simple shimming or concrete resurfacing might do the trick. Bigger issues, like large gaps or serious settlement, usually need a professional’s eye. A quick check is to measure a crack over a week; if it’s expanding more than a millimetre, call in an expert.
Once you’ve judged the severity, list the work you’ll need – leveling, filling holes, or underpinning. Keep the scope realistic: a small slab repair is a weekend job, while underpinning a whole house can take weeks and may need permits.
Tools, Materials, and Step‑by‑Step Basics
Here’s a starter kit for most DIY foundation jobs:
- Heavy‑duty concrete mix (choose a mix with a high compressive strength for load‑bearing areas)
- Gravel and sand for a solid base
- Mixing drill and a sturdy bucket
- Level, spirit line, and chalk line for checking flatness
- Shims or steel plates for minor leveling
- Safety gear – gloves, goggles, and a dust mask
Step 1: Clear the area. Remove any carpet, flooring, or debris that sits on the slab you’re repairing. Expose the concrete surface so you can see the damage clearly.
Step 2: Clean and prep. Sweep away dust, then wash the spot with water and let it dry. A clean surface helps the new concrete bond properly.
Step 3: Apply a bonding agent if the repair is larger than a few inches. This thin liquid helps the new mix stick to the old slab.
Step 4: Mix concrete according to the manufacturer’s instructions. Aim for a creamy consistency – not too runny, not too stiff.
Step 5: Fill the hole or low spot. Use a trowel to pack the mix tightly, removing any air pockets. Smooth the surface with the trowel and check the level with a long straight edge.
Step 6: Let it cure. Keep the repair damp for at least 24 hours; covering it with a plastic sheet works well. Avoid foot traffic for a full week before you walk on it again.
If you’re dealing with an uneven slab, place steel plates or shims under the concrete before you pour, then level everything with a spirit level. This method can straighten a floor that’s only a few millimetres off.
Remember, safety comes first. Working with concrete generates a lot of dust, and heavy equipment can be risky. If you ever feel unsure, pause and ask a professional for advice – a quick call can prevent a costly mistake later.
DIY foundation work isn’t glamorous, but getting it right protects your entire home. With the right tools, a clear plan, and a little elbow grease, you can fix most small‑scale problems and keep the structure sound for years to come.
Can I Repair Foundation Myself? What You Really Need to Know
- Gavin Whitaker
- |
- |
- 0
Thinking about tackling foundation repair by yourself? This article breaks down which problems you can handle on your own, what’s best left to the pros, and what risks to watch for along the way. We’ll look at must-know facts, common repair methods, and handy tips for spotting early warning signs. If you’re on the fence between saving money and making it worse, this will help you decide. Whether you’re handy or just curious, you’ll find the info practical and easy to use.
View more