Got an old dining table that’s more ‘yesterday’ than ‘wow’? You don’t need to trash it—just freshen it up with a few simple tricks. Updating a tired table not only saves money but also gives it fresh personality. Best part? No need to be a pro or spend a fortune.
Start by looking at your table like it’s a blank canvas. Does it have sturdy legs but scratched-up surfaces? Maybe it’s solid wood but the color screams ‘grandma’s house’? The first step is figuring out what’s good and what needs help. Snap a quick photo—sometimes seeing it from a different angle helps you spot what needs a tweak or what already works.
- Assessing Your Table's Potential
- Paint and Finish Upgrades
- Changing Hardware and Legs
- Adding Style with Accessories
Assessing Your Table's Potential
Before you dive into changing anything, check out what you’re working with. Look for sturdy construction first. If the table wobbles or feels loose, tighten screws or bolts. Wobbly legs are a simple fix with the right wrench. If there’s major structural damage like deep cracks or broken joints, you’ll need some extra repair work, but most dining tables can be brought back to life with basic tools.
Material makes a huge difference too. Solid wood is king for making over; you can sand it, paint it, or stain it as many times as you want. Veneer tables (the thin wood layer glued to cheaper wood or MDF) need a gentler touch—sanding too much can ruin the top, but you can still paint or refinish them if you’re careful. Metal bases are easy to clean up and look sharp painted or left natural.
Here’s a quick way to check your table’s material and build:
- Knock on the underside—solid wood sounds dull and heavy, while veneers sound hollow.
- Check for manufacturer stamps or stickers; you might find a hidden gem from a known brand.
- Look for damage at corners and joints, the spots that take the most abuse.
Next, size and layout. Make sure the table fits your dining area—no sense modernizing a table that’s just too big or small for your space. Quick measuring tip: leave at least 36 inches around the table so chairs can move in and out comfortably.
It’s wild how many people keep using uncomfortable or too-tall tables. Here’s a cheat sheet for standard dining table sizes:
| Seating | Table Length | Table Width | Height |
|---|---|---|---|
| 4 people | 48" | 30" | 28-30" |
| 6 people | 60" | 36" | 28-30" |
| 8 people | 78" | 36-40" | 28-30" |
Finally, check the style. Is your table stuck in the past because of chunky legs or a dated wood tone? That’s where a modernize old table project becomes fun. Snap a photo and save some inspiration pics from Instagram or Pinterest to help you picture new life for your old table. Getting clear about what you like will make picking upgrades much easier later on.
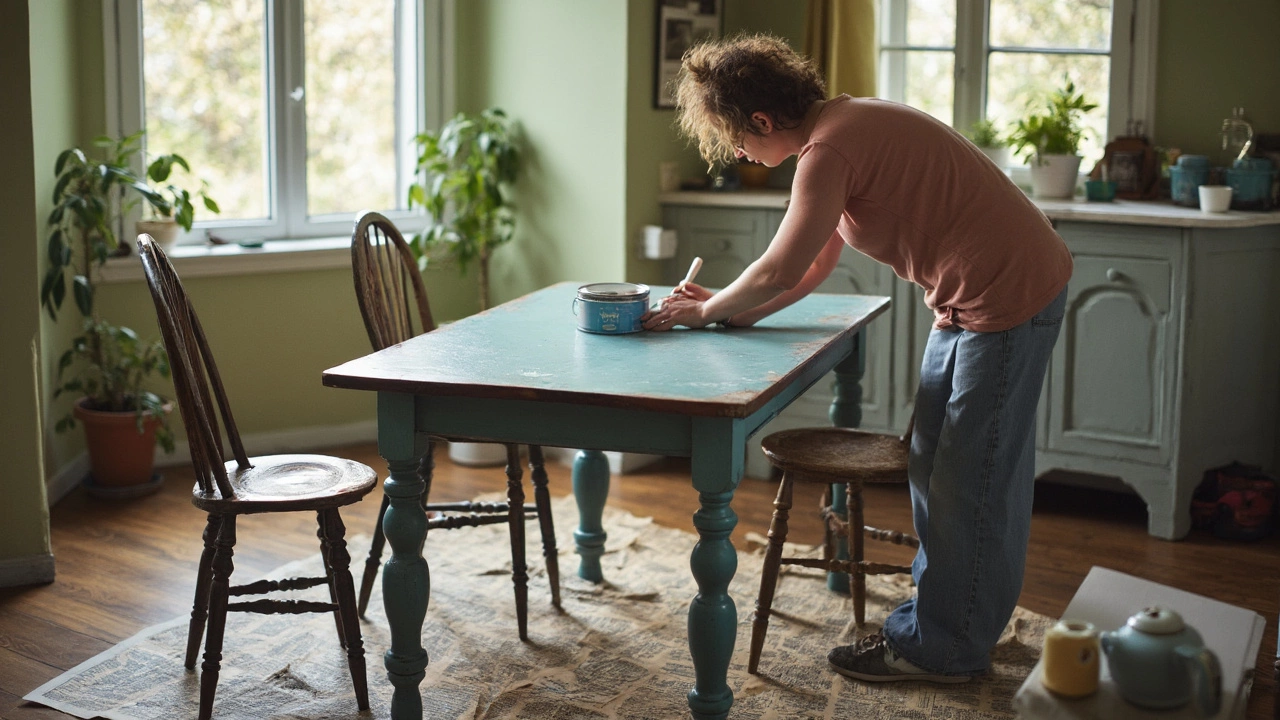
Paint and Finish Upgrades
When it comes to modernize old table, nothing beats a new paint job or finish. Paint can work magic: it hides scratches, ugly stains, and even weird wood tones. Before you start, make sure your table is clean and dry—oily fingerprints, cat hair (mine, thanks Whiskers), or old crumbs will mess up the paint.
Most folks go with either matte or semi-gloss. Matte gives that trendy, smooth look, while semi-gloss holds up better to spills and wipes down easily—a lifesaver if you’ve got kids or you’re clumsy with coffee. For a classic vibe, white, charcoal, or navy always look fresh. Want something bold? Try forest green or terracotta. Surprisingly, darker paint hides everyday dings better than pale colors.
Here’s a simple step-by-step way to upgrade your table’s finish without special equipment:
- Sand it lightly with 120- to 220-grit sandpaper to get a smooth surface and help paint stick. You don’t have to go down to bare wood—just knock off any gloss or rough patches.
- Wipe away dust with a damp cloth or tack cloth. Paint hates dust.
- Use primer if your surface is super glossy or if you plan on going from dark to light. This helps the color pop and last longer.
- Apply paint with a foam roller or brush. Go slow and steady—two thin coats beat one thick, streaky mess.
- Let it dry fully between coats (usually two hours is enough, but paint cans always tell you for sure).
If you want to keep the wood look but update it, go for a wood stain and clear topcoat. Lighter stains, like natural oak or ash, make the room feel bigger, while walnut or espresso deliver cozy, modern vibes. Always finish with a good sealer—polyurethane’s the favorite for a tough, long-lasting result.
| Finish Type | Pros | Cons |
|---|---|---|
| Matte | Trendy & hides flaws | Harder to clean; shows greasy marks |
| Semi-Gloss | Easy to clean; resists spills | Shows scratches more |
| Satin | Balanced look & durability | Not as bold as matte or gloss |
Pick your finish based on your lifestyle and the table’s future. For daily family dinners or homework sessions, durability wins. Extra tip: let everything cure for a few days before stacking stuff or sitting down for chili night—fresh paint stays soft and scuffs up fast if you’re not patient.
Changing Hardware and Legs
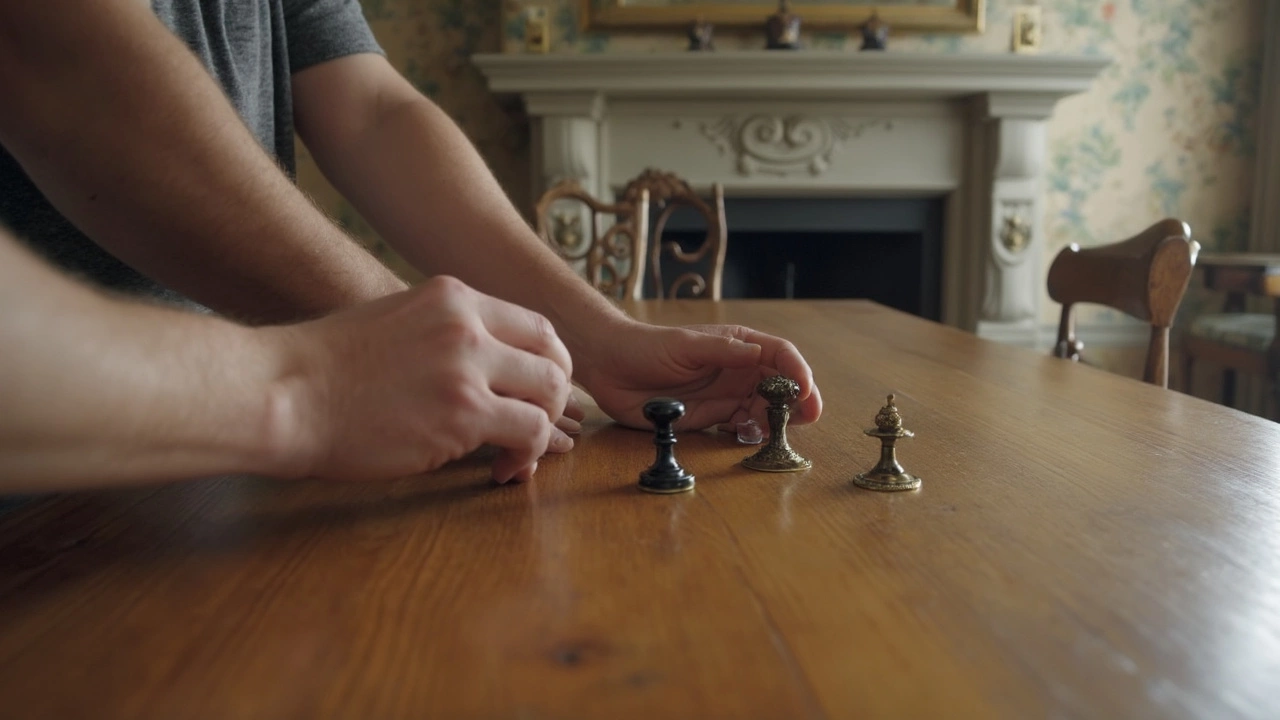
If you ask anyone who’s tackled a modernize old table project, they’ll say changing the hardware and legs is a game changer. Little details—like swapping out chunky wooden knobs for sleeker metal handles—make a huge difference. Most older tables come with old-fashioned drawer pulls or even wood handles. Swap them for something with a matte black or brushed gold finish for instant style points.
Let’s talk legs. Tables with thick carved legs look dated, but you can easily swap those out for something more streamlined. DIY furniture legs are everywhere online, and they come in all kinds of designs: hairpin, square, metal, or simple tapered wood. Most are designed to fit standard table bases, so you don’t have to bust out fancy tools. To make the job painless, measure your current leg height first—most dining tables are about 28 to 30 inches tall when finished.
- Unscrew the old legs (some might be glued; a rubber mallet helps loosen things up)
- Find replacement legs that fit the same bracket or buy simple leg attachment plates
- Attach the new legs, making sure the table is level before tightening the screws
- Test for wobble by gently rocking the table—if it shakes, adjust the screws or add furniture pads
Hardware isn’t just about looks either. New drawer pulls that open smoothly make the table easier to use, especially if you stash stuff inside. Metal legs add stability and tend to outlast most wood in humid or active homes.
| Option | Cost Range (USD) | Difficulty | Average Time |
|---|---|---|---|
| Modern metal legs (set of 4) | $60 - $120 | Easy | 45 minutes |
| Drawer pulls/handles (set of 4) | $12 - $35 | Very easy | 15 minutes |
If you rent or just want something non-permanent, try using furniture risers or snap-on covers designed for table legs. It’s barely a hassle, but it updates the mood fast. And if you have pets like Whiskers (my mischievous cat), picking sturdy, scratch-proof hardware is a smart call.
Adding Style with Accessories
Even after you paint or refinish, a table can still look a bit plain without the right accessories. The good news? Swapping out decor is about the quickest and cheapest way to modernize an old table. Styling makes a huge difference—just look at any home magazine and you’ll notice how much personality comes from what’s on top.
The modernize old table trick that pros use: layer your table like you would an outfit. Try one or more of these:
- Table runners and placemats: These instantly add color or texture. Linen and cotton in neutral colors are super popular right now—and easy to throw in the wash.
- Centerpieces: Fresh flowers, a bowl of fruit, or a cluster of candles can all work. If you want to keep it low-maintenance, go for faux greenery or a cool sculptural object.
- Tray setups: A tray can keep salt, pepper, and condiments neat, while also making the table look intentional. Choose wood, metal, or ceramic to match your table’s new look.
- Swapping chairs: Mixing up the chairs around your table—maybe even going for a different style or adding a bench—makes any dining setup look more up-to-date.
- Lighting above the table: Pendant lights or statement fixtures draw the eye and change the vibe. You don’t need an electrician for some plug-in options.
To keep it from looking crowded, stick to this handy formula: Centerpiece + functional accessories (like trays) + seating. According to IKEA’s trend report, 64% of folks who updated their tables with simple accessories felt their dining rooms looked “much more modern.”
Here’s a quick table to help with accessory picks for different table types:
| Table Type | Best Accessories |
|---|---|
| Wooden | Linen runners, plants, pottery |
| Glass | Minimalist trays, metal candle holders |
| Metal/Industrial | Warm-toned textiles, baskets, soft lighting |
If you’re not sure where to start, designer Emily Henderson says,
"Start with a bold runner you really love, then build out with simple plates and a natural centerpiece—it’s impossible to get wrong."
Don’t forget, if you have pets like my cat Whiskers, skip anything fragile or easy to knock over. For renters or anyone on a budget, peel-and-stick vinyl placemats and washable runners are a game changer.