Couch Foam Suitability Calculator
Ever sat down on your couch only to find one cushion has slipped sideways, leaving a gap that looks like it’s been abandoned? It’s not just ugly-it’s uncomfortable. A separated couch cushion isn’t a sign your sofa is broken. It’s usually just a simple issue with the internal structure, and you can fix it yourself in under an hour with basic tools.
Why Couch Cushions Separate
Most modern couches use foam cores wrapped in polyester fiber or down feathers, then enclosed in a fabric cover. Over time, the stitching holding the foam and fiber together wears out. The cover stretches, the foam shifts, and the cushion starts to bulge or split down the middle. This is especially common in high-use areas like the center of a sectional or the main seat cushions on a family sofa.You’ll notice it when:
- The cushion looks lumpy or has a visible crease down the center
- One side feels firmer than the other
- You can see the inner foam peeking through the fabric seam
- The cushion slides or rotates unnaturally when you sit
This isn’t a defect in the couch-it’s normal wear. A typical sofa cushion lasts 3-7 years before the internal structure breaks down. If your couch is older than five years and you’ve had kids, pets, or movie nights on it, this is almost guaranteed to happen.
What You’ll Need
You don’t need fancy tools or professional help. Here’s what’s in your toolkit:- Sturdy needle (upholstery needle or heavy-duty sewing needle)
- Heavy-duty thread (polyester or nylon, 100% bonded, like Gutermann Sew-All)
- Scissors
- Measuring tape
- Staple gun (optional, for securing fabric)
- Replacement foam (if the foam is crushed or broken)
- Old pillowcase or clean cloth (to protect the fabric while working)
Don’t use regular sewing thread. It’ll snap under pressure. You need thread rated for upholstery-something that can handle constant weight and friction.
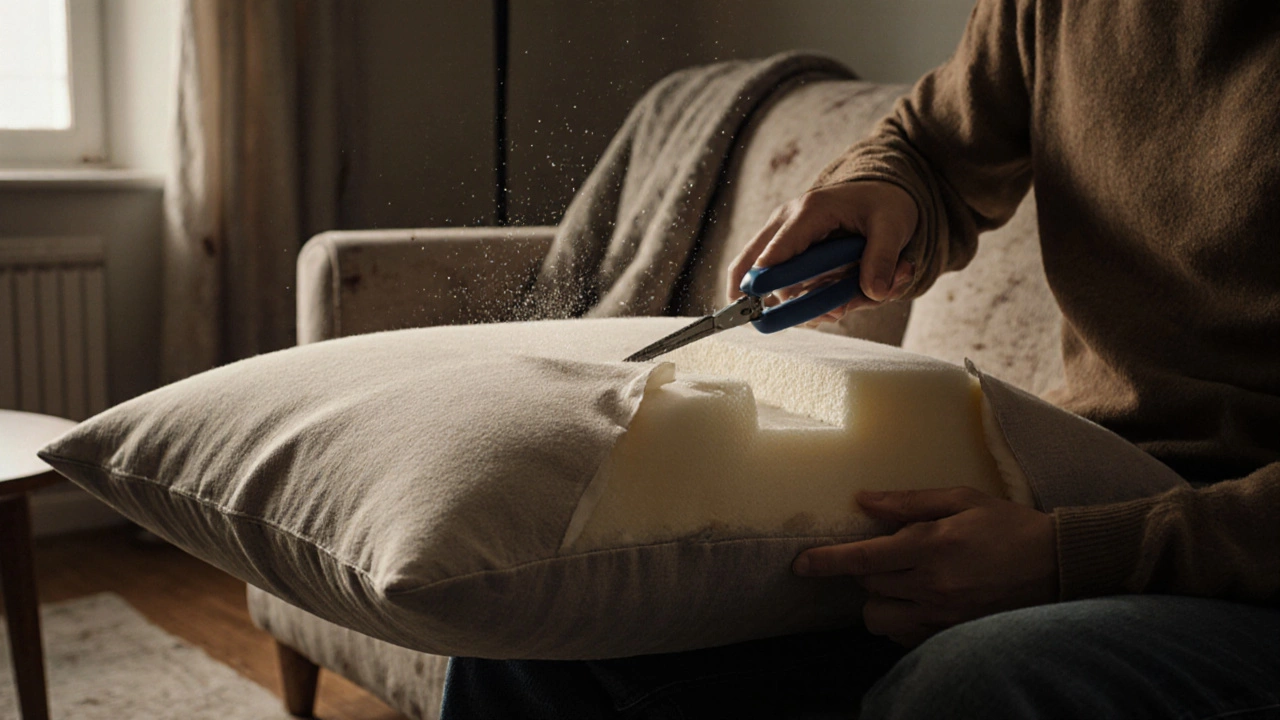
Step 1: Remove the Cushion Cover
Most couch cushions have removable covers. Look for zippers, hidden snaps, or ties underneath. If you can’t find any, check the seams. Some covers are sewn shut and need to be carefully unstitched.Use a seam ripper or small scissors to open the seam along one edge. Start at a corner and work slowly. Don’t cut the fabric-just remove the stitches. Keep the original thread if it’s still in good condition; you can reuse it.
Once the cover is off, lay it flat on a clean surface. If it’s dirty, spot-clean it with a damp cloth and mild detergent. Let it dry completely before reassembling.
Step 2: Inspect the Foam and Fiber Fill
Now you’ll see the inner layers. Most cushions have a foam core with a thin layer of polyester fiber wrap around it. If the foam is cracked, crumbling, or compressed to half its original thickness, it’s time to replace it.Measure the foam’s length, width, and thickness. Take a photo and bring it to a local upholstery shop or order online. Standard foam densities for couch cushions are 1.8-2.5 lb/ft³. Higher density means longer life. Avoid cheap, low-density foam-it compresses fast.
If the foam is still firm and holds its shape, you probably just need to reattach the fiber wrap. That’s where the separation happens.
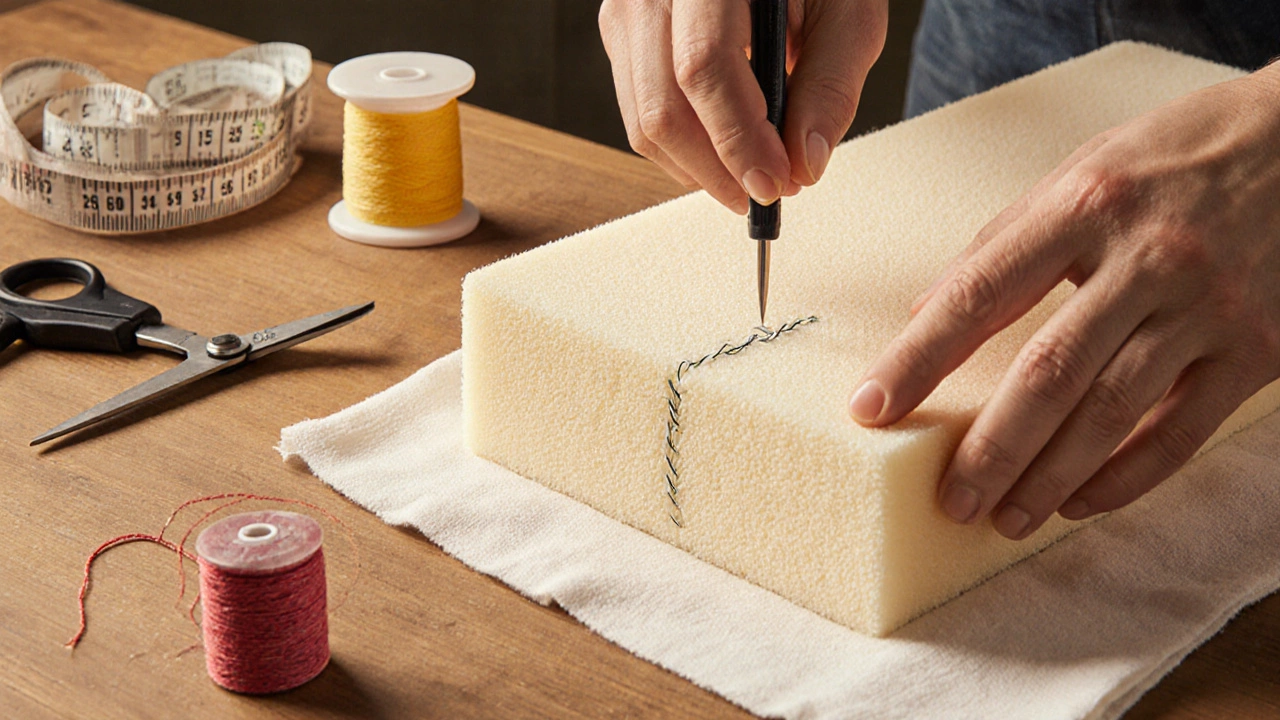
Step 3: Reattach the Fiber Wrap
The fiber wrap is meant to keep the foam smooth and prevent it from poking through the cover. Over time, the stitching holding it to the foam comes loose. You’ll see loose threads or gaps where the fiber has pulled away.Use a strong needle and double-threaded upholstery thread. Start at one end of the gap and stitch in a straight line along the seam where the fiber meets the foam. Use a running stitch-simple in-and-out stitches every 1/4 inch. Don’t pull too tight, or you’ll wrinkle the fabric. Just snug enough to hold it flat.
Work your way across the entire length of the separation. If the fiber is uneven or bunched, gently pull it flat as you stitch. This step alone fixes 80% of separated cushion issues.
Step 4: Replace the Foam (If Needed)
If the foam is damaged, cut the new piece to match the old one. You can use a utility knife to trim it. Place the new foam inside the fiber wrap, then re-stitch the fiber to the foam as described above.Pro tip: If your cushion had a center seam (a stitched line running down the middle), you can reinforce it by adding a second row of stitching 1 inch away from the original. This gives the cushion more structure and prevents future separation.
Step 5: Reassemble the Cushion Cover
Slide the repaired foam and fiber back into the cover. Make sure everything is centered. If the cover has a zipper, zip it up slowly. If it’s sewn shut, use the same thread and stitch pattern you removed earlier. You can hand-sew it with a ladder stitch for an invisible finish.Use a chopstick or pencil to push the corners into place. Don’t force it-gentle pressure works better than yanking.
Step 6: Test and Maintain
Sit on the cushion. Does it feel even? Does it stay flat when you lean back? If yes, you’re done. If it still sags or shifts, the foam might be too soft. Try adding a thin foam topper (1/2 inch) on top of the existing core for extra support.To extend the life of your cushions:
- Flip and rotate them every month
- Use a slipcover to reduce direct wear
- Avoid sitting on the same spot every day
- Keep pets’ claws trimmed
Most people think replacing a couch cushion means buying a new sofa. But with a little time and the right thread, you can extend the life of your couch by years. This repair costs less than £20 and saves you from spending £500 on a replacement.
When to Call a Pro
You don’t need to hire someone unless:- The fabric is torn beyond repair
- The cushion frame is warped or broken
- You’re uncomfortable with sewing or handling foam
Most upholstery shops charge £50-£100 to reupholster a single cushion. If your couch is a high-end brand (like IKEA’s KIVIK or a mid-century modern piece), it might be worth it. But for most standard sofas, DIY is faster, cheaper, and just as effective.
Common Mistakes to Avoid
- Using the wrong thread-regular thread will snap in a week
- Skipping foam replacement-old, mushy foam ruins even the best stitching
- Not measuring before buying new foam-wrong size means it won’t fit
- Forcing the cover back on-stretching the fabric too much causes new wrinkles
- Ignoring the other cushions-if one is separated, the others are close behind
Fix one cushion, and you’ll probably need to fix the next one in a few months. Do them all at once if you can. It’s easier than doing it piecemeal.
Can I use hot glue to fix a separated couch cushion?
No. Hot glue doesn’t hold up under weight or movement. It gets brittle over time and can melt in warm rooms. It may seem like a quick fix, but it’ll fail within weeks and make the cushion look messy. Sewing is the only reliable method.
How often should I replace couch cushion foam?
Every 5-7 years for average use. If you have kids, pets, or sit on the couch daily, replace it every 3-4 years. High-density foam (2.0 lb/ft³ or higher) lasts longer. Cheaper foam (1.5 lb/ft³) compresses fast and should be replaced sooner.
What if the cushion cover is stained or torn?
If the fabric is only stained, clean it with a fabric cleaner and let it dry. If it’s torn, you can patch it with matching fabric from behind the cushion or buy a replacement cover online. Many brands sell replacement covers by model number. If the fabric is faded or thin, consider reupholstering the whole cushion.
Can I add more fiber fill to make the cushion fluffier?
Yes, but only if the foam is still firm. Add polyester fiberfill in small amounts-no more than 1/2 inch extra thickness. Too much fiber makes the cushion feel lumpy and unnatural. The foam provides structure; the fiber just softens the surface.
Is it worth repairing a cheap couch?
If the frame is solid and the fabric is still in decent shape, yes. A £150 couch can easily last another 5 years with a £15 repair. If the frame is wobbly or the fabric is falling apart, it’s time to replace it. But most people throw out couches too early. Repairing one cushion often reveals the rest are still good.
Fixing a separated couch cushion isn’t glamorous, but it’s one of the most satisfying DIY jobs you can do. You save money, reduce waste, and keep something you actually like in your home. And once you’ve done it once, you’ll never look at a saggy cushion the same way again.