Ever walked into a room and instantly felt at home? That feeling doesn't just happen by accident—someone with a keen eye for space, color, and comfort built it from scratch. But here's the kicker: you don't need a degree or pricey classes to make spaces come alive. Tons of successful interior designers started by following their passion, learning from mistakes, and soaking up inspiration everywhere. If you think you need a diploma to call yourself a designer, let me tell you—most clients want a killer eye, not a fancy certificate.
Understanding the Heart of Interior Design (and Why You Don't Need a Degree)
If you poke around LinkedIn or design forums, you'll see countless stories of people switching careers and teaching themselves interior design. According to the U.S. Bureau of Labor Statistics, about 35% of interior designers in the U.S. are self-employed. Translation? Plenty of them built their skills through self-education, not university. Sure, big firms working on skyscrapers want degrees, but for homes, shops, small businesses—clients care about your portfolio, not your pedigree.
So, what actually makes someone an interior designer? First off: you need taste. Taste isn’t born—it’s built. Look at magazines like Architectural Digest or Instagram accounts like Studio McGee or Justina Blakeney. Really take note of what catches your eye. Are you into minimal spaces, or boho chaos? Next, understand the basics: floor plans, light, color moods, the scale of furniture. You don’t need a math degree but you do need to measure so you don’t end up with a sofa that blocks the doorway.
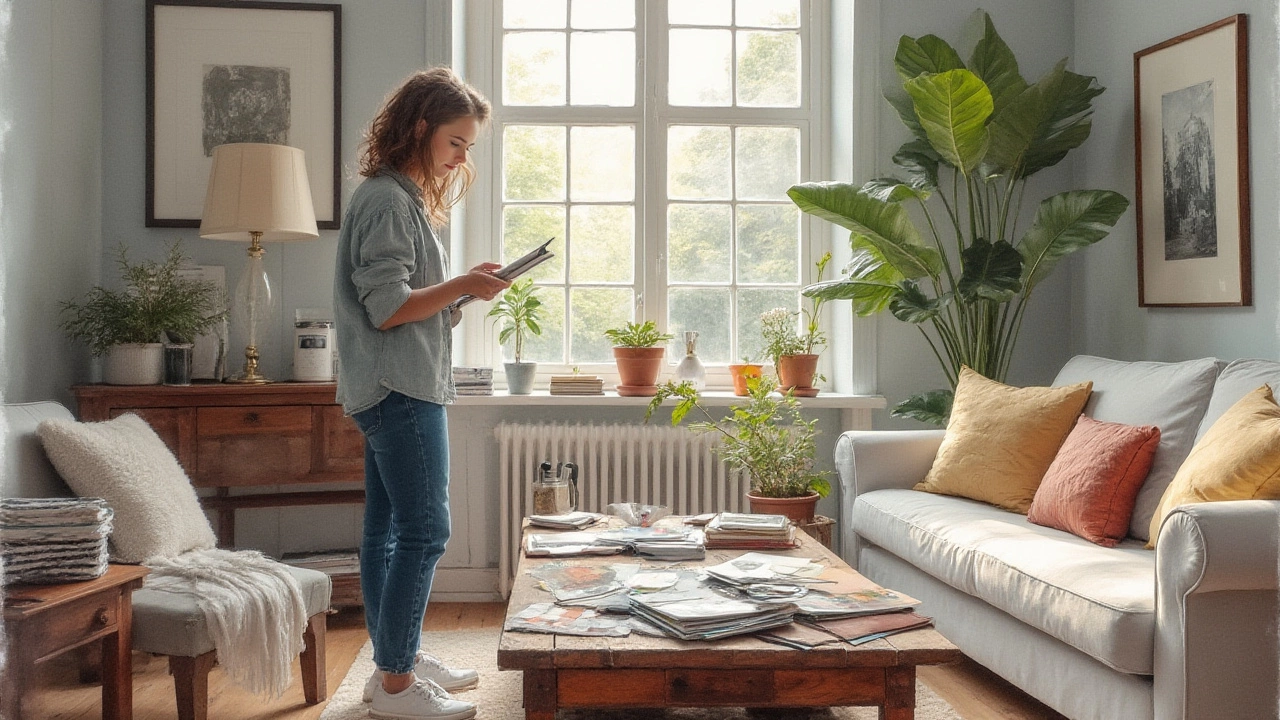
If you can't stop rearranging your living room or helping friends pick out wall colors, you're halfway there already. Still, there's more to the job than picking cute throw pillows. Good designers obsess over how the sun hits during different hours, whether there’s enough storage, if upholstery is kid-proof, or whether smart lighting really fits a budget. These details matter way more than memorizing design history trivia—and frankly, most clients don’t care who invented Bauhaus, they just want their living room to work for their lifestyle.
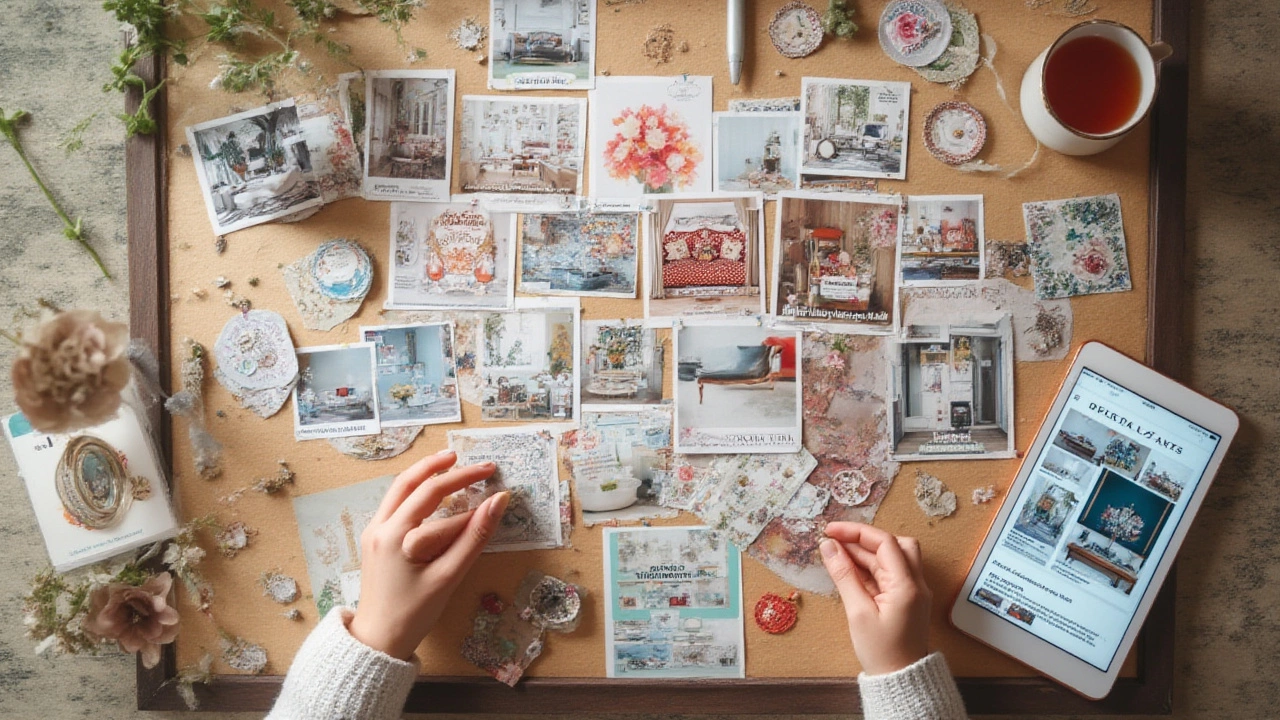
Here’s an overlooked fact: even the world’s top designers admit stealing inspiration. Kelly Wearstler once shared in an interview that she keeps a huge folder of cutouts from magazines, works of art, old travel photos—basically, anything that makes her pulse race. You should do the same: scroll Pinterest, snap pics at hotels, hoard paint samples from hardware stores. All those scraps will eventually teach your eye how to spot what works (and what doesn’t).
You’ll also want to get familiar with software. Many designers use SketchUp, which has a free hobby version for home users. Or try Floorplanner for quick 3D layouts. Neither is rocket science—watch a few YouTube tutorials, and you’ll get the hang of it. Most clients are blown away if you can give them a basic 3D model of their room, so this little skill is major.
Here’s some data:
| Tool | Free Version? | Difficulty for Beginners |
|---|---|---|
| SketchUp | Yes | Moderate |
| Canva | Yes | Easy |
| Floorplanner | Yes | Easy |
| AutoCAD | No | Hard |
Practical Steps to Teach Yourself Interior Design
Okay, you’re fired up. But, what’s step one? Start by studying the basics of space planning. Every good room starts with measuring—seriously, grab a tape measure and get the true size of your rooms. Draw it up. Note where sunlight enters. Figure out where electrical outlets mess with your plan. Then experiment: move furniture, swap art, play Tetris with real objects. Trust me, nothing makes you learn faster than actually putting stuff in a room and realizing what looks weird.
There are loads of free resources. MIT OpenCourseWare offers a few lessons on spatial thinking. Udemy and Skillshare have starter courses—you’ll find hundreds of YouTube channels breaking down color palettes, arrangement rules, and real makeovers. Check out Emily Henderson’s blog or Farah Merhi’s Instagram. These aren’t just inspiration boards—they explain why a space works, and give practical how-tos. Bookmark them now!
Another overlooked tip: practice with digital mockups. Canva is free and lets you create mood boards. Gather fabric samples (many stores will hand them out if you ask), snap pics, create collages. This isn’t just for fun—it actually helps your brain see what pieces don’t go together.
Want critiques and real feedback? Join online forums (like Reddit’s r/InteriorDesign or Houzz). Share your projects. Yes, the internet has some tough critics, but you’ll get valuable feedback, not just ‘That’s cute!’ from friends afraid to hurt your feelings. Next, volunteer. Redecorate your parents’ living room, style a neighbor’s guest room, help a local charity sprucing up waiting rooms. Each project gives you new challenges and stories for your portfolio.
Here’s a popular learning sequence you might try:
- Get inspired. Save 20–30 images you love. Note what you like (less about color, more about furniture shapes or layouts).
- Learn how to draw a basic floor plan. Use grid paper, or grab a free digital tool like Floorplanner.
- Educate yourself on light—take note of what time sunlight enters each room. This determines whether the space is cozy or stark.
- Experiment with color: try paint swatches on your real walls, or use paint visualizer apps.
- Read blogs, watch room makeover videos, and listen to design podcasts for practical tips. The Great Indoors podcast has fun, real stories.
- Try staging small spaces—bookshelves, entryways, or even just a coffee table. Arranging small scales first helps build confidence fast.
- Build a portfolio. Shoot before-and-after photos of every project.
- Seek honest feedback from people who didn’t hire you just to be nice.
Another pro tip: Pick a store with reasonable return policies (hello, IKEA). Try items at home, return what doesn’t work. The process helps train your eye and your budget.
One more must-learn area is lighting. Most beginners mess this up by relying on ceiling fixtures. Pro designers use three sources: overhead, task lighting (like desk lamps), and accent (like a cute floor lamp or string lights). This layering makes any room feel magazine-worthy.
Want stats? According to the American Society of Interior Designers, at least 55% of clients say lighting and storage are more important than paint or decor. If you want to stand out, learn how to cleverly tuck storage in awkward corners and embrace dimmers.

Building Your Confidence and a Portfolio Without Formal Training
Wonder why some self-taught designers thrive, while others fizzle out? Confidence isn’t about ego—it’s about practice. The more projects you tackle, the more patterns you spot. The trick is to always photograph your work. Even if you just rearranged a bookcase, snap before-and-afters. Over time, your style will emerge, and you’ll be able to show clients actual proof you know what you’re doing.
Want to look pro? Write up a project brief for every space you decorate, even as a hobby. Example: "Budget: $300, Goal: Make a small living room feel bigger without painting the walls, Challenges: Too much brown furniture, Target Mood: Cozy and bright." This makes you think through solutions, not just pretty fabrics.
Your phone camera is enough for now—use natural light, tidy up the real clutter, and spend five minutes framing the shot. Free editing apps like Snapseed can tweak brightness and contrast. Save these shots in a digital folder labeled by project and date. Next year, you’ll be shocked how much your skills have grown.
Once you’ve styled a few rooms, set up a simple online portfolio. Use a template site like Wix, Squarespace, or a free blog on WordPress. Don’t obsess if it’s not perfect. Prospective clients want to see your eye, not fancy code. Add short descriptions for each project. "Redesigned a tiny studio for a friend whose only demand was ‘make it feel less like a cave.’" Specifics like this make your design thinking obvious.
Networking matters, even without credentials. Share your portfolio in Facebook groups related to local mom groups, real estate, or home renovation. Offer discounted or free design consults for first-time clients—just don’t do it forever. After a few solid projects, start charging what your time is worth.
Pay attention here: licensing rules do exist if you want to market yourself as an "interior designer" in certain states (like Florida or Nevada), especially for commercial spaces. Residential clients, though, can hire decorators or consultants with no certification just fine. Always check your local rules, but don’t let red tape scare you off in most markets.
Want another real pro tip? Respond to local job boards for freelance help, or check with realtors who need staging help. They’re often more interested in hustle and common sense than fancy diplomas. After a few collaborations, you’ll have even more to add to your story.
Just remember: stubbornness is your best asset. Trends come and go—orange kitchens, monochrome everything, you name it—but good spaces put the person first. Stay curious, keep tinkering, and treat every project—even your own messy apartment—as a chance to learn. That drive, more than anything, separates a wannabe from a real designer.
And if you ever get imposter syndrome? Know that even famously self-taught designers like Nate Berkus and Joanna Gaines started by designing for family and friends, not magazine covers. If they can build empires one project at a time, so can you.