Bathroom Tiling Order Advisor
Answer the questions below to get a recommended installation sequence tailored to your bathroom project.
Recommended Sequence
Why This Order?
Critical Warnings
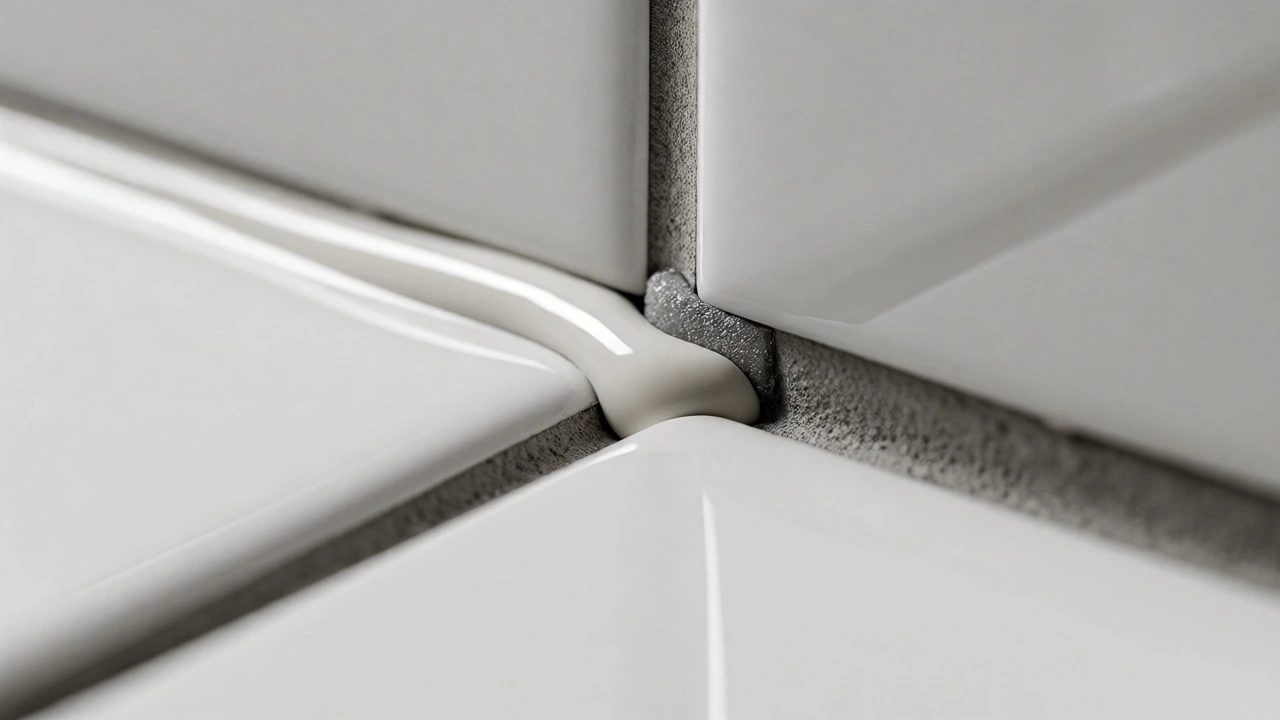
Pro Tip: Regardless of order, always leave a 1/8" gap between wall and floor tile and fill with silicone caulk, not grout, to prevent cracking.
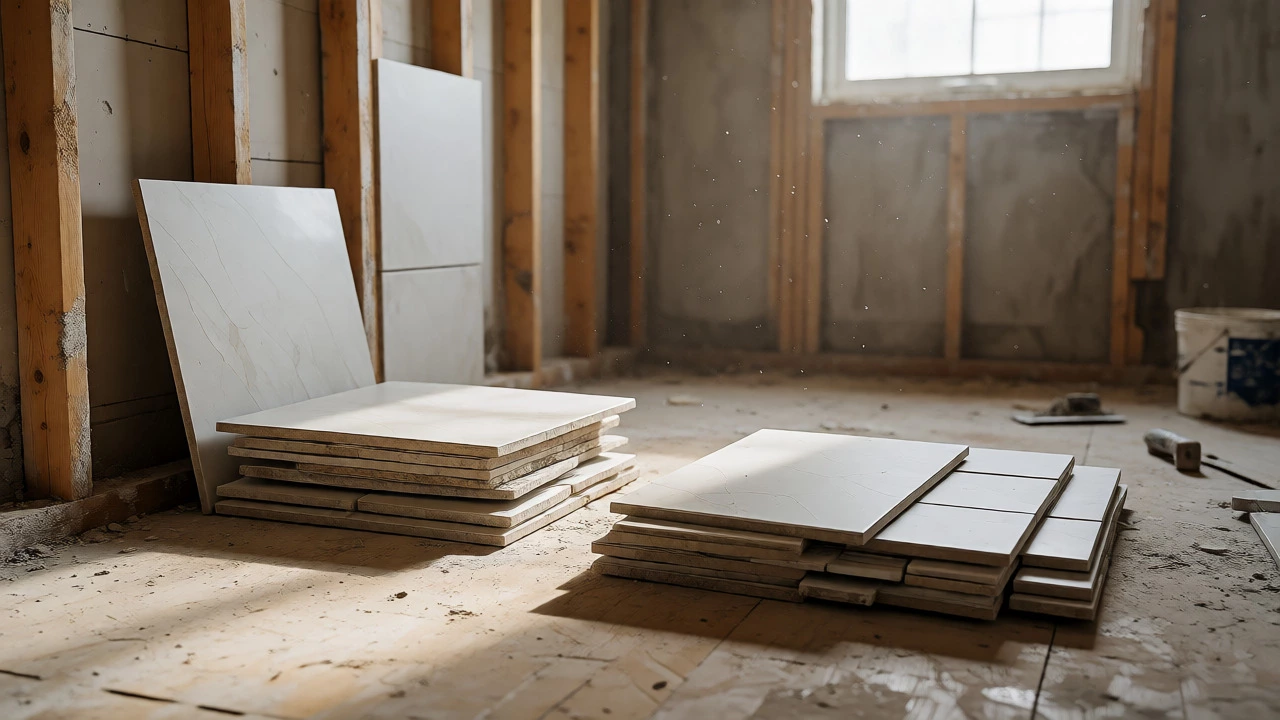
You’re standing in your gutted bathroom, staring at two piles of expensive porcelain tiles. One pile is for the walls, the other for the floor. The question that keeps popping up on every DIY forum and contractor message board is simple but stressful: do you do walls or floor first? There isn’t a single universal rule that applies to every project, but there are clear logical paths depending on what you’re installing. Getting this wrong can mean cracked grout lines, water damage behind your new vanity, or having to rip up brand-new flooring because a plumber needed to adjust a pipe.
| Scenario | Recommended Order | Why? |
|---|---|---|
| New Construction / Full Gut | Floor First (usually) | Easier to protect finished floors during heavy wall work; standard industry practice for large areas. |
| Small Powder Room | Walls First | Less floor area to protect; easier to caulk the joint later without walking on fresh tile. |
| Large Format Tiles (>24") | Walls First | Prevents lippage issues where wall tiles overhang floor tiles; allows better leveling of vertical surfaces. |
| Vinyl/Laminate Floor + Tile Walls | Walls First | Tile mortar and grout dust will ruin vinyl; install floating floors last. |
| Shower Pan Installation | Floor/Pan First | The shower pan must be watertight before walls cover its edges. |
The Standard Contractor Approach: Why Floors Often Win
In most professional renovations, especially those involving full-scale demolition, contractors lay the flooring before touching the walls. This isn't just habit; it’s about logistics. When you’re mixing thin-set mortar and hauling bags of grout, things get messy. If your floor is already tiled and sealed, you have a solid, clean surface to work from. You can set up saws, mix buckets, and move ladders without worrying about scratching raw subfloor or getting mud into the joists below.
Think about the weight distribution. A tiled floor is heavy. If you build a heavy wall structure or install a heavy bathtub after the floor is down, you need to ensure the subfloor can handle it. But more importantly, consider the "break line." In a perfect world, the wall tile sits slightly above the floor tile, separated by a flexible silicone caulk joint. If you do walls first, you risk damaging the bottom row of wall tiles while trying to cut and fit the floor tiles around them. It’s much harder to maneuver a wet saw or a notched trowel when you’re hovering inches above fragile, freshly set wall tiles.
However, there is a catch. If you lay the floor first, you must protect it aggressively. Contractors use rosin paper, cardboard, and plastic sheeting. One dropped bucket of paint or a stray screwdriver can chip a $15-per-square-foot porcelain tile. If you aren’t disciplined about protection, doing the floor first becomes a liability rather than an asset.
When Walls Should Go First
There are specific situations where starting with the wall tiling makes more sense. The biggest factor here is the type of flooring material. If you are installing luxury vinyl plank (LVP), laminate, or engineered wood, these materials are often "floating"-they aren’t glued directly to the subfloor. Installing these before the walls means you’ll have to cut the flooring around the base of the wall tiles, which looks sloppy and traps moisture. Instead, tile the walls, let them cure, and then install the floating floor right up to the wall, hiding the expansion gap with baseboards.
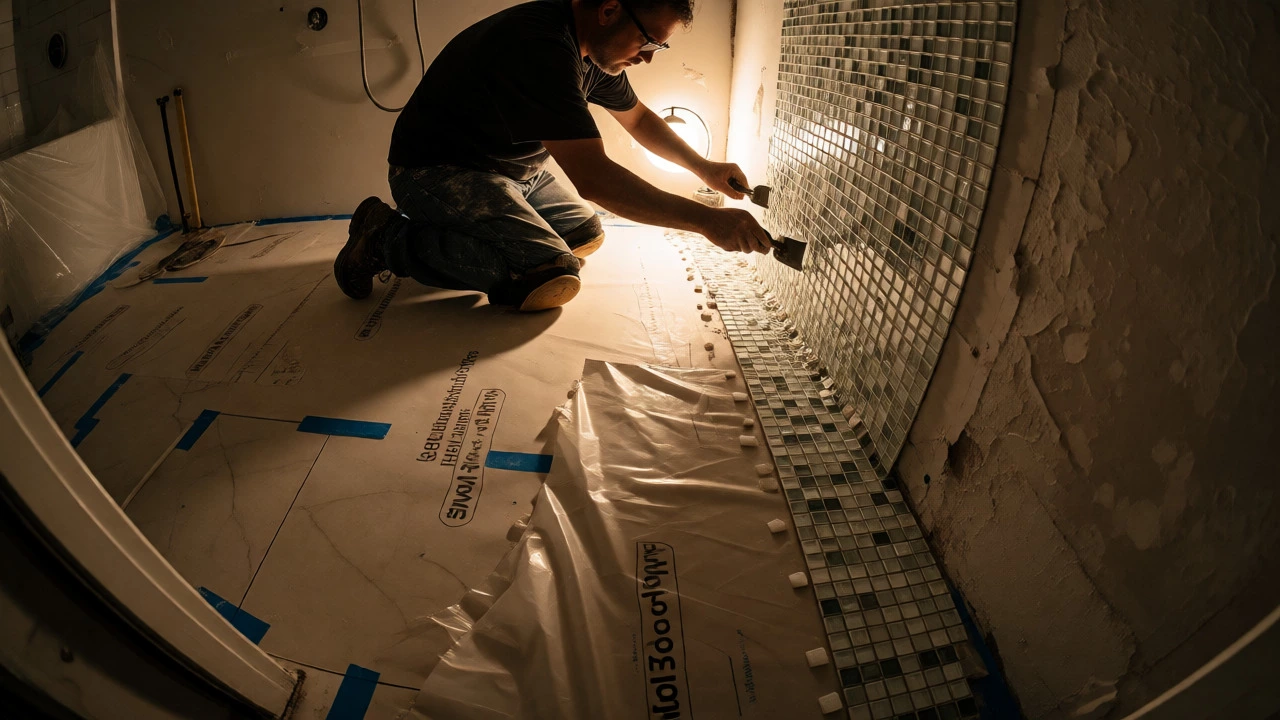
Another scenario favoring walls-first is small-format mosaic tiles on complex curved walls. Mosaics require precise placement and frequent adjustments. If you’ve already laid a pristine marble floor, kneeling on it to place tiny 1x1 inch glass tiles is a recipe for disaster. Your knees will leave dents in the grout if it’s not fully cured, and dropping tools is inevitable. Doing the hard, fiddly wall work first, while the floor is still bare subfloor, saves your back and your wallet.
Also, consider the plumbing. If you are moving drain pipes or adjusting toilet flanges, you might need to jackhammer or chisel the subfloor. Doing this after the floor tile is installed is nearly impossible without cracking surrounding tiles. So, if your plumbing rough-in isn’t 100% finalized, hold off on the floor until the walls are framed and tested, even if you don’t tile them yet.
The Shower Trap: Why the Pan Dictates Everything
If your remodel includes a custom shower, the rules change completely. The shower pan (or pre-slope) is the foundation of your waterproofing system. It must be installed and tested for leaks before any wall materials go up. If you tile the walls first, you might find out too late that the pan has a slow leak, requiring you to remove rows of expensive wall tile to access the membrane.
For a curbless shower, the floor slope leads directly into the main bathroom floor. In this case, the transition point is critical. Many pros recommend installing the shower pan and the immediate surrounding floor area first. Then, they tile the walls, ensuring the wall tile overlaps the shower pan’s waterproofing membrane correctly. This overlap is vital for directing water inward, not behind the wall. If you tile walls first, you lose control over this critical intersection.
Practical Steps for a Smooth Transition
Regardless of which order you choose, the interface between the wall and the floor is where 90% of bathroom failures happen. Here is how to handle the joint properly:
- Leave a Gap: Never butt the wall tile directly against the floor tile. Hard contact transfers movement from the house settling or foot traffic into the rigid tile, causing cracks. Leave a 1/8-inch gap.
- Use Backer Rod: Stuff a foam backer rod into that gap. This prevents the silicone sealant from sinking too deep and ensures proper adhesion to both sides.
- Silicone, Not Grout: Use color-matched 100% silicone caulk for the horizontal joint. Cementitious grout is rigid and will crack as the floor flexes underfoot. Silicone remains flexible.
If you are doing walls first, you’ll need to create a temporary ledge to support the bottom row of wall tiles so they don’t slide down while the mortar cures. This is often done using a batten strip screwed into the studs. Once the wall tiles are set, you remove the batten, install the floor, and then fill the gap with silicone. If you do the floor first, you’ll rest the bottom row of wall tiles on spacers placed on top of the finished floor. This requires careful cleaning to ensure no debris gets under the tile, which would prevent proper bonding.
Common Mistakes That Cost Money
One major mistake is ignoring the toilet flange height. If you tile the floor first, make sure the flange is positioned correctly relative to the new floor level. If you tile walls first, you still need to account for the floor thickness when setting the flange. A flange that is too high or too low will cause leaks or a wobbly toilet, regardless of tile order.
Another pitfall is ventilation. Tiling creates humidity. If you tile walls first and then spend three days laying the floor, ensure the room is well-ventilated to prevent mold growth on the uncured grout or drywall joints. Conversely, if you do the floor first, never walk on it before it’s fully cured (usually 24-72 hours depending on product). Walking on green tile can shift the pieces, creating uneven surfaces (lippage) that look terrible and trap dirt.
Final Verdict: What Should You Do?
For the average homeowner tackling a standard bathroom update with ceramic or porcelain tiles on both surfaces, doing the floor first is generally safer and easier, provided you protect it meticulously. It gives you a stable platform and simplifies the cutting process for the wall tiles’ bottom edge. However, if you are dealing with floating floors, very small mosaics, or complex shower pans, prioritize the walls or the pan structure first.
Ask yourself: Is my subfloor perfectly level? If yes, floor first is great. If no, fixing the floor is step one anyway. Do I have a helper? If you’re alone, doing walls first might be less physically demanding than bending over to lay floor tiles all day. Listen to your project’s specific constraints, not just internet forums.
Can I tile the walls before the shower pan?
Generally, no. The shower pan is part of the waterproofing layer. Wall tile should overlap the pan’s membrane to direct water inward. If you tile walls first, you may compromise the waterproofing integrity or have to demolish work later if the pan fails inspection.
What goes between floor and wall tile?
You should use a flexible silicone caulk, not cement grout. Before caulking, insert a foam backer rod into the gap to control the depth of the sealant and ensure it adheres only to the tile edges, not the bottom of the gap.
Does the order matter for vinyl flooring?
Yes. For floating vinyl or laminate, always tile the walls first. These floors expand and contract with temperature changes. Tiling over them locks them in, potentially causing buckling. Also, vinyl can be damaged by mortar spills during wall tiling.
How long should I wait after tiling the floor before tiling walls?
Wait at least 24 to 48 hours for the floor thin-set to cure enough to withstand light traffic and the weight of a ladder. However, avoid heavy loads or aggressive cleaning until the floor is fully cured (often 7 days).
Is it cheaper to do walls or floors first?
The material cost is the same. Labor costs might vary slightly. Doing floors first can reduce labor time for wall cuts, but increases cleanup/protection time. Doing walls first might save floor protection costs but risks floor damage. The difference is usually negligible compared to the cost of fixing mistakes.